

When you try to install new Windows Update on Windows 10, you encounter the error code 0x800f0988, but you have no idea how to fix it. Not to worry. This post includes four effective methods to fix this error; just try them one by one from the top of the list until you find the one that works for you.
Try these fixes
Fix 1: Clean up the WinSxS folder
Fix 2: Empty the update cache
Fix 3: Manually download and install the update package
Fix 4: Perform an in-place upgrade
Fix 1: Clean up the WinSxS folder
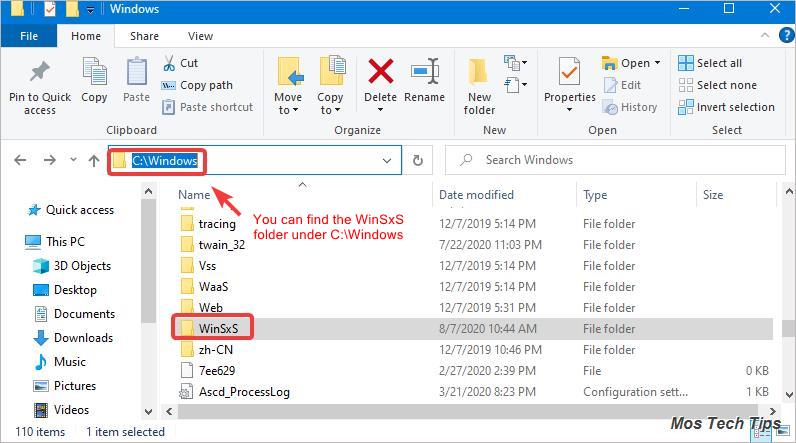
The WinSxS folder stores all Windows system components including uninstalled, disabled Windows components. When Windows installs updates, the new update files will be dropped to the folder and the old update files will stay in the folder. This makes it bigger and bigger until you clean it up manually. To fix the Windows 10 Update error 0x800f0988, Microsoft suggests users to clean up the WinSxS folder.
Here’s how to clean up the WinSxS folder:
1) On your keyboard, press Win+R (the Windows logo key and the R key) at the same time to invoke the Run box.
2) Type ‘cmd’ into the Run box.
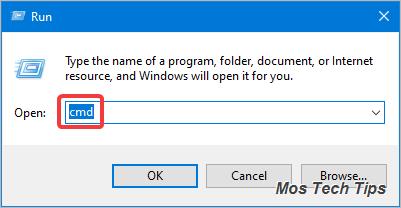
3) On your keyboard, press Ctrl+Shift+Enter to open the Command Prompt as Administrator.
If you get a UAC (User Account Control) prompt, click Yes to allow the access.
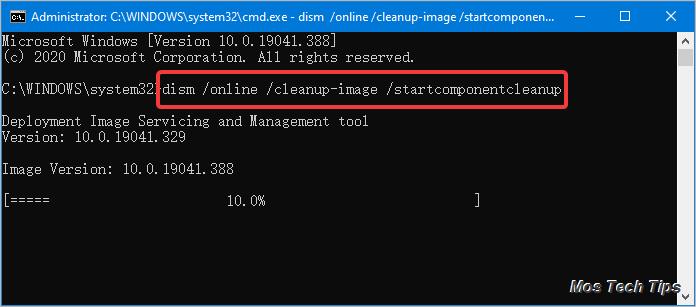
4) Type the following command and press the Enter key on your keyboard. The process will take a minute or two, wait patiently until it’s finished.
dism /online /cleanup-image /startcomponentcleanup
5) Once done, check to see if the Windows Update error 0x800f0988 is resolved.
Fix 2: Empty the update cache
One general method to fix Windows Update error is to empty the update cache. So to fix the Windows 10 Update error 0x800f0988, you can also try to empty the update cache. To empty the update cache, you just need to rename the SoftwareDistribution folder and the catroot2 folder, which stores files and signatures related to Windows Update.
Follow the below steps to rename these two folders:
1) On your keyboard, press Win+R (the Windows logo key and the R key) at the same time to invoke the Run box.
2) Type ‘cmd’ into the Run box.
3) On your keyboard, press Ctrl+Shift+Enter to open the Command Prompt as Administrator.
4) Follow the instructions below to type commands.
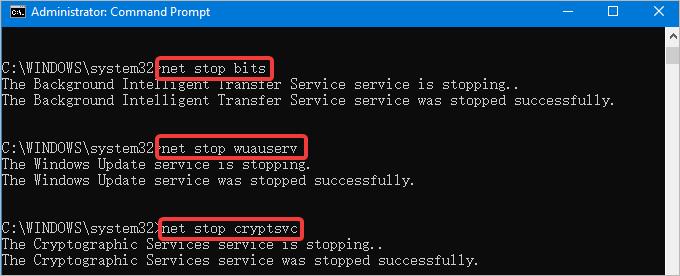
4a) Firstly, stop the services associated with Windows Update. They’re the Background Intelligent Transfer service (BITS), the Windows Update service, and the Cryptographic service.
To stop the services, type the following commands. Make sure that you press Enter after you type each command.
net stop bits


net stop wuauserv


net stop cryptsvc
4b) Secondly, rename the SoftwareDistribution folder and the catroot2 folder.
To do so, type the following commands. Make sure that you press Enter after you type each command.
Ren %systemroot%\SoftwareDistribution SoftwareDistribution.bak


Ren %systemroot%\system32\catroot2 catroot2.bak

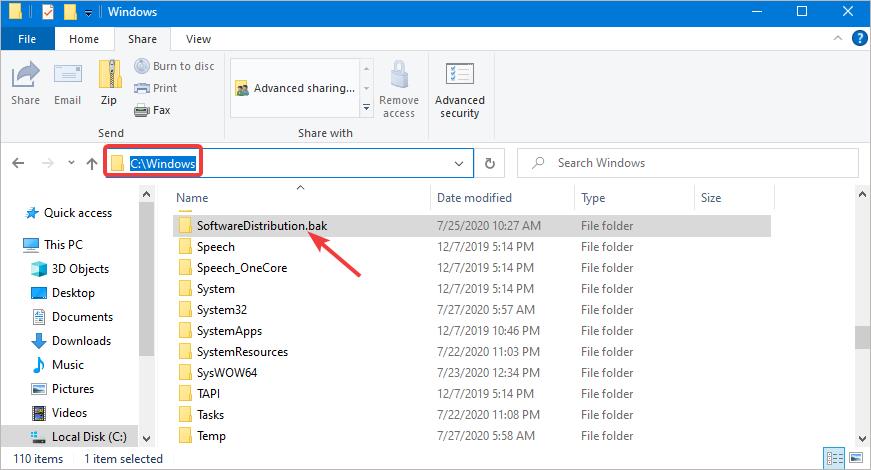
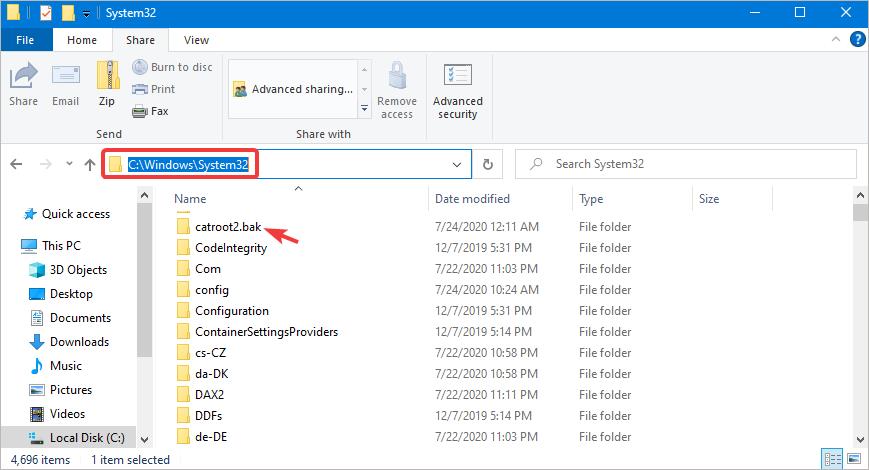
5) Ensure the folders are renamed successfully.
Go to C:\Windows and check if the SoftwareDistribution folder is renamed to SoftwareDistribution.bak.
Go to C:\Windows\System32 and check if the catroot2 is renamed to catroot2.bak.
6) Lastly, restart the BITS service, the Windows Update service, and the Cryptographic service.
To do so, type the following commands. Make sure that you press Enter after you type each command.
net start bits


net start wuauserv


net start cryptsvc
7) Restart your computer and check to see if the error code 0x800f0988 is resolved.
Fix 3: Manually download and install the update package
The problem can be caused by a specific update package. You can tell what the specific update package is from the error message. To fix the 0x800f0988 error, you can try to manually download and install that update package from Windows Update Catalog. To do so:
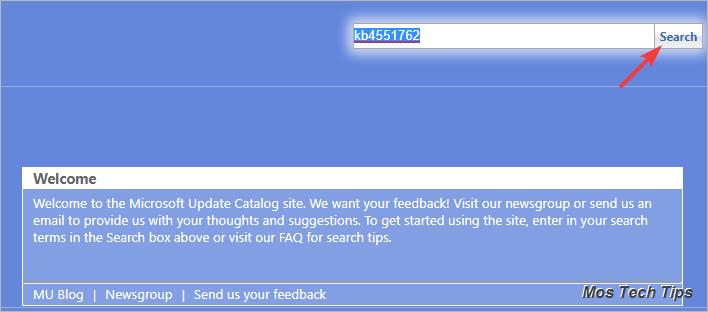
1) Go to Windows Update Catalog where you can download the update packages.
2) Type the name of the problematic update package into the search box and click Search.
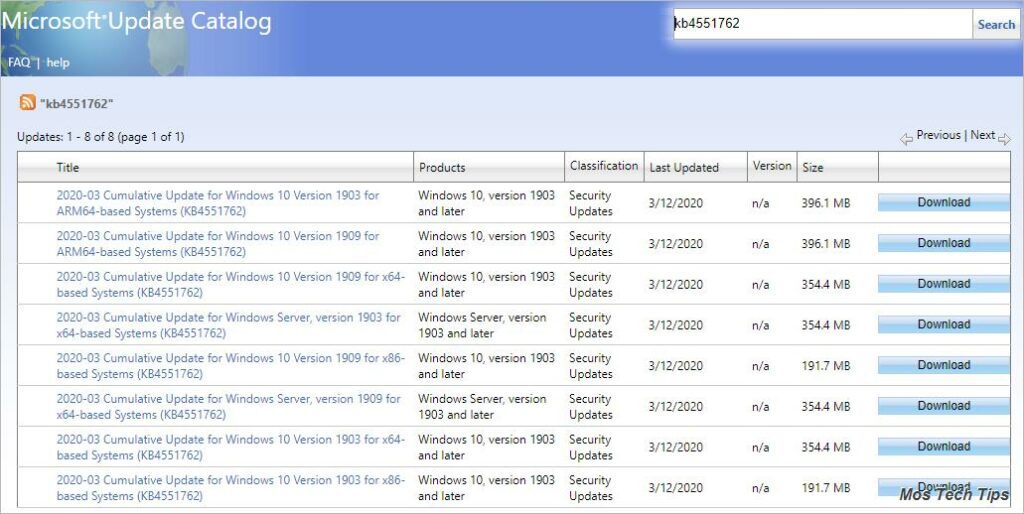
3) Download the package based on your Windows 10 version (64bit or 32bit).
4) Double-click on the downloaded file (MSU file) and follow the on-screen instructions to install the package.
5) Restart your computer and check to see if you can continue to install Windows Update successfully.
Fix 4: Perform an in-place upgrade
If none of the fixes works for you, the last resort to fixing the problem is perform a repair install of Windows 10 with an in-place upgrade, which allows you to upgrade the current system to a same edition or a newer edition. With the in-place upgrade, you won’t lose anything except the installed Windows Updates.