
After you plug your Razer Kraken mic to your computer, if it doesn’t work, not to worry. You can make it work again with one of the following methods.
There are six methods available below for you to fix the problem. You can try them one by one until the problem resolves.
Method 1: Troubleshoot the hardware issues
Method 2: Change the privacy settings
Method 3: Change your microphone device settings
Method 4: Run audio troubleshooter
Method 5: Install the latest Windows Updates
Method 6: Update the audio driver
Method 1: Troubleshoot the hardware issues
The problem can be caused by damaged microphone ports or damaged microphones. To troubleshoot the problem:
Note: If your computer only has one port, this troubleshooter doesn’t work for you, just skip this method and continue to the next method.
First, plug your Razer Kraken microphone to another microphone port and see if the problem persists. If it works on another port, the problem probably is caused by a damaged microphone port.
Secondly, test the microphone on another computer and see if the problem persists. If it works on another computer, it means there’s no problem with the microphone.
After you ensure all hardware work fine, move on and try other methods.
Method 2: Change the privacy settings
Once the Razer Kraken microphone doesn’t work properly, the microphone could be set to not allow to access your computer. In this case, you need to change the Privacy settings.
To do so:
1) On your keyboard, press Win+I (the Windows logo key and the I key) at the same time to invoke the Settings window.
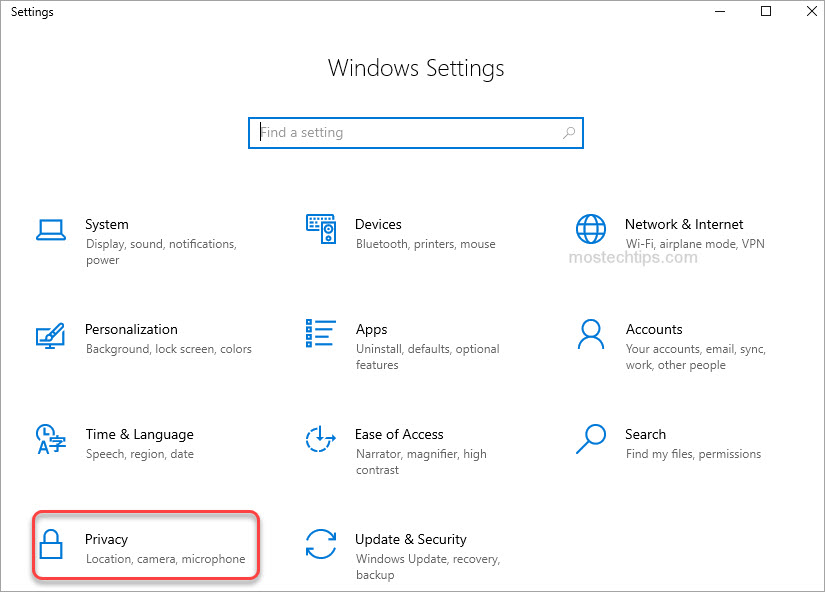
2) On the Settings window, select Privacy.
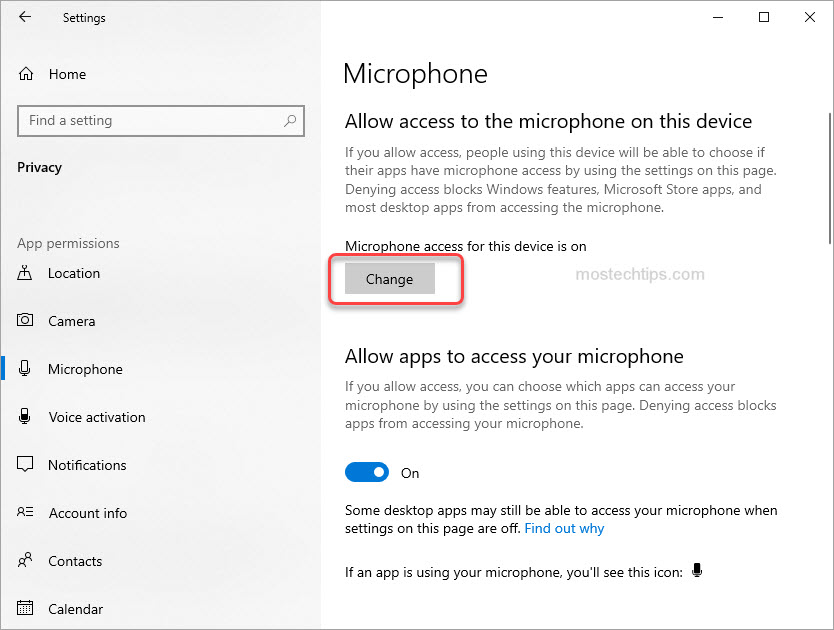
3) Select Microphone in the left pane, and click Change in the right pane to see if the toggle for ‘Microphone access for this device‘ has been set to Off. If it’s Off, just click the toggle to turn it on.
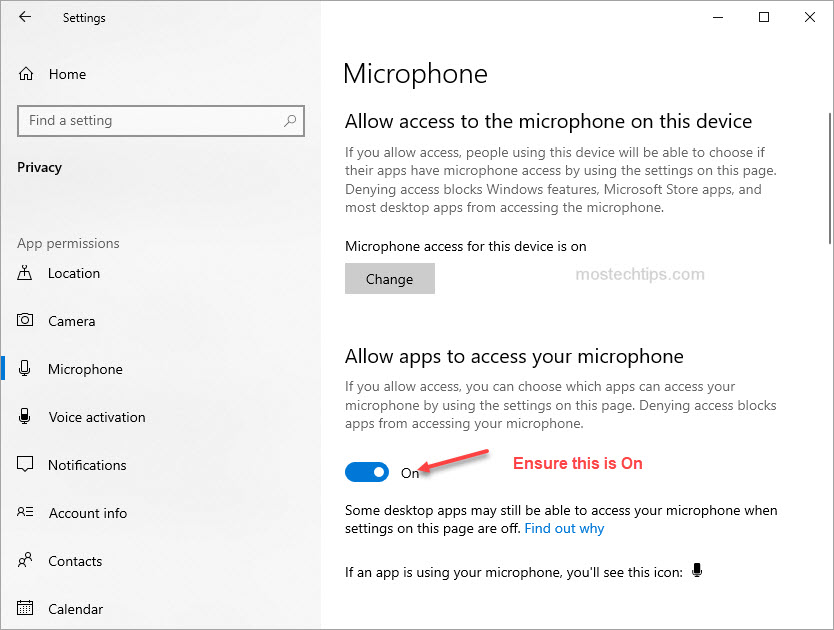
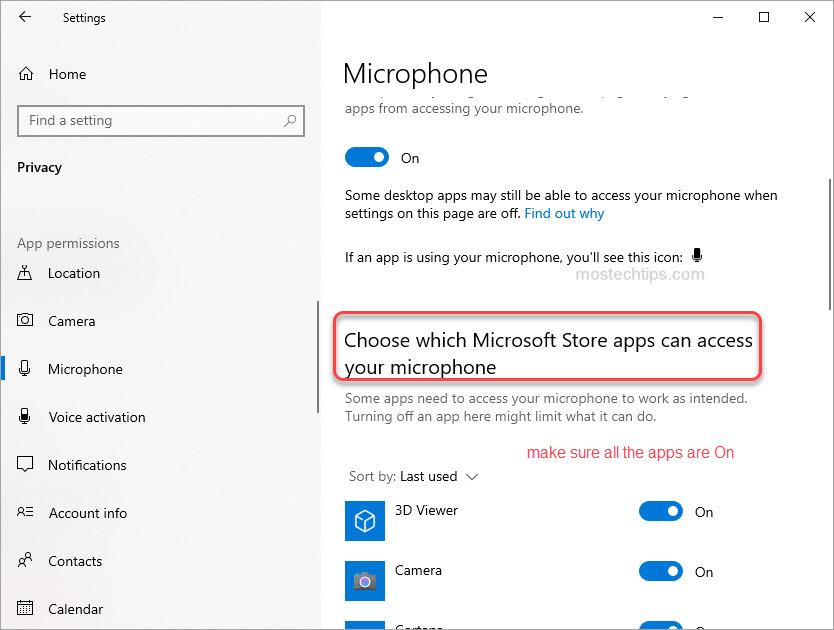
In the meantime, ensure the toggle for Allow apps to access your microphone is set to On.
4) Scroll down to find ‘Choose which apps can access your microphone‘, and make sure all the apps you need can access the microphone
5) After changing Privacy settings, check to see if your Razer Kraken mic works.
Method 3: Change your microphone device settings
If the microphone device is not set as the default device, your Razer Kraken mic cannot work properly. So ensure your microphone device is set as the default device. Here’s how to do it:
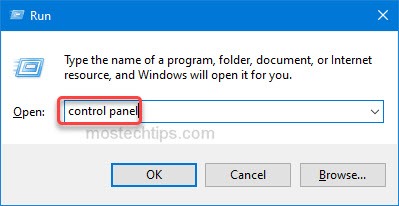
1) On your keyboard, press Win+R (the Windows logo key and the R key) at the same time to invoke the Run box.
2) Type ‘control panel’ into the Run box and click OK to open the Control Panel window.
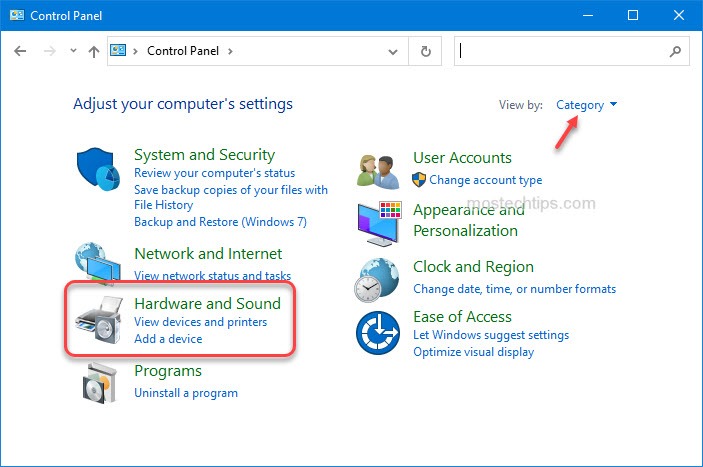
3) View by Category and click on Hardware and Sound.
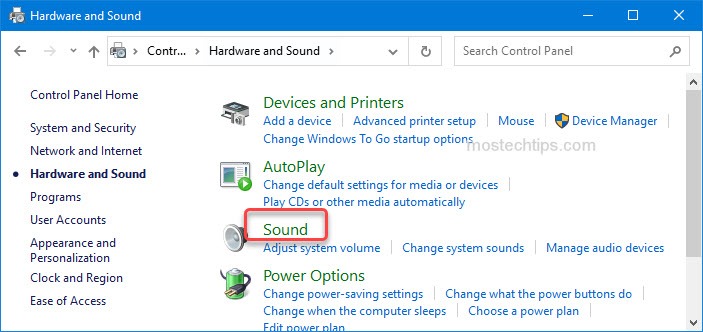
4) Click on Sound.
5) Select the Recording tab. Then select the ‘Headset Microphone’ device and click Set default to set it as default device.
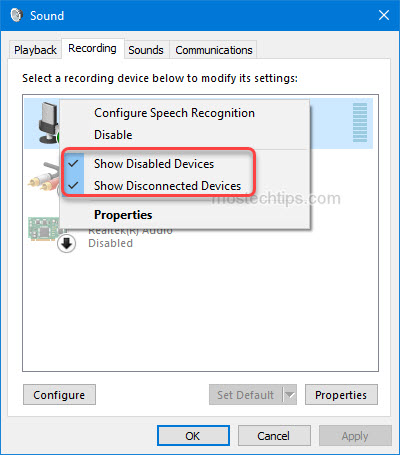
Tip: If you don’t see ‘Headset Microphone’ listed, it’s possible the device is disabled and hidden. Then you’ll need to change the setting to make it show up. To do so:
a. Right-click on the blank space and then select Show Disabled Devices and Show Disconnected Devices.
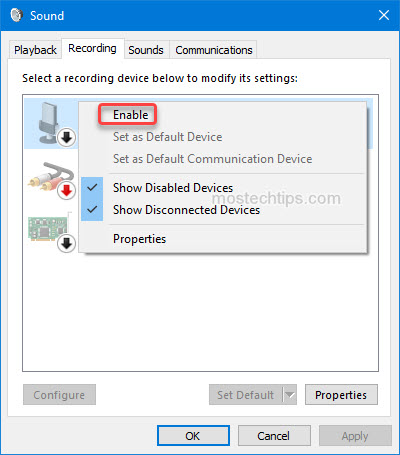
b. Right-click on Headset Microphone and then click Enable. Once it’s enabled, set it as the default device.
6) Click OK to save the changes.
7) Check to see if the problem is resolved.
Method 4: Run audio troubleshooter
Every time when your computer has sound problems, you can run the audio troubleshooter to fix the problem. Follow these steps:
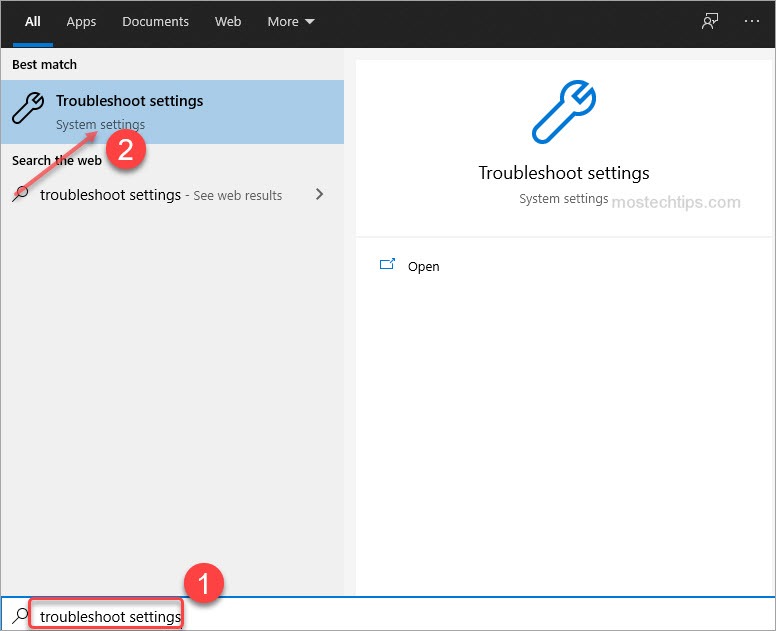
1) On your keyboard, press Win+S (the Windows logo key and the S key) to open search.
2) Type ‘troubleshoot settings’ into the search box and select Troubleshooter settings from the result list.
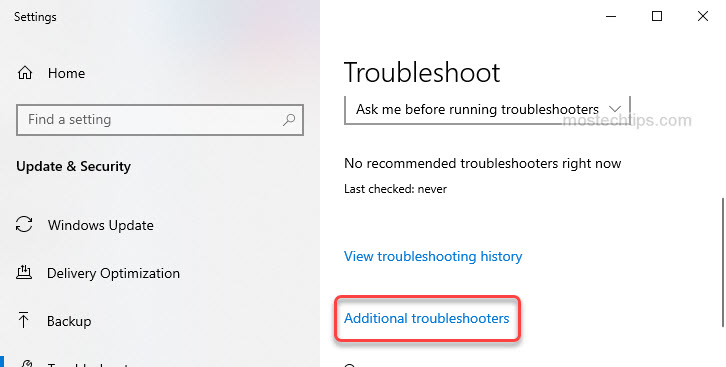
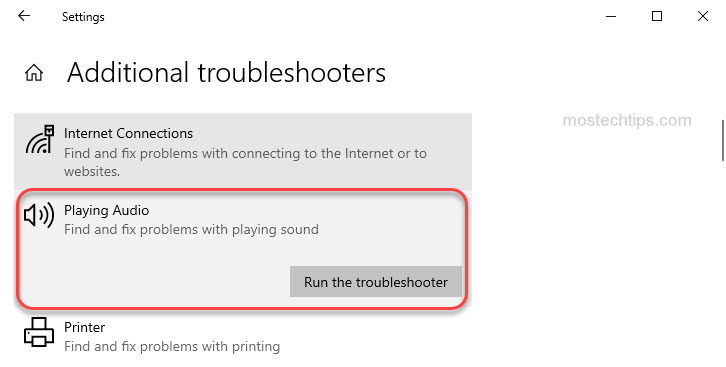
3) Click on Additional troubleshooters.
4) Click on Playing Audio -> Run the Troubleshooter.
5) Follow the wizard to finish the troubleshoot.
If your Razer Kraken mic still doesn’t work, try Method 5.
Method 5: Install the latest Windows Updates
You can install the latest Windows Updates and check if it helps. The Windows Update includes the latest system updates and the latest audio drivers, which might help fix the Razer Kraken mic not working issue.
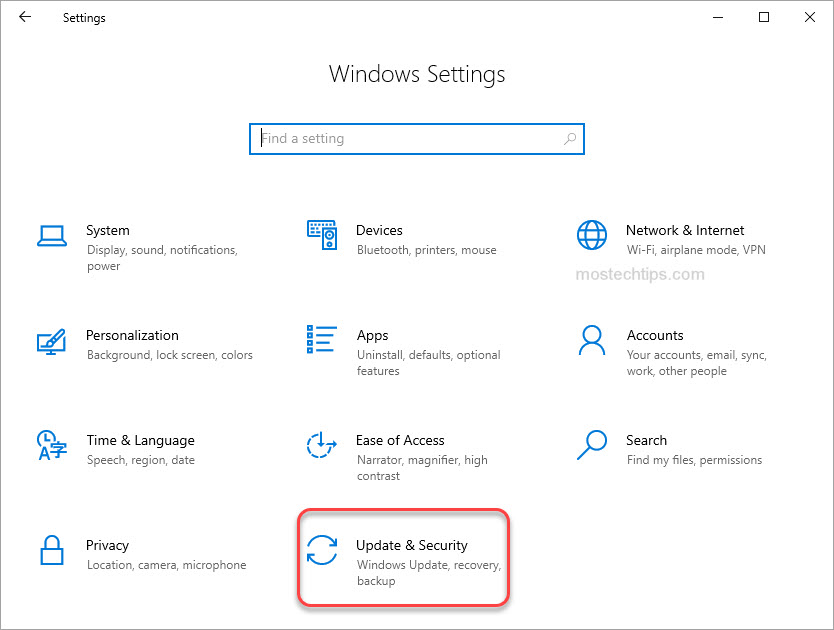
1) On your keyboard, press Win+I (the Windows logo key and the I key) to invoke the Settings window.
2) Select Update & Security.
3) Select Windows Update on the left side and click Check for updates. Then Windows will install the latest updates on your computer. If you’re prompted to restart your computer, just restart it.
Method 6: Update the audio driver
The last method you can try is to update the audio driver.
To update the audio driver, you can go to the PC manufacturer’s website to download the latest audio driver.
To download the driver correctly, you’ll need to know what version of Windows you’re using, or what audio card you have.
If you don’t have much driver knowledge, it’s recommended you use a third-party driver update utility. Driver Booster is one of the best driver update utilities you can use
Driver Booster allows you to update all drivers with just one click. After you download and install on your computer, just launch it to scan your computer to detect any missing and outdated drivers including the outdated audio driver.
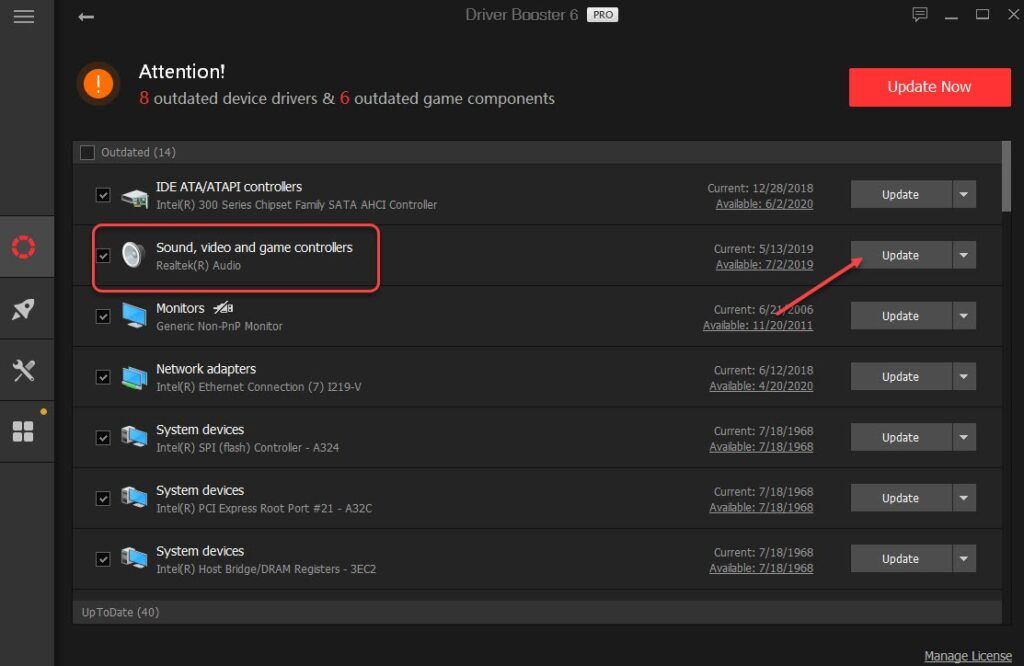
Then you can update the audio driver with just one click.
After updating the audio driver, check to see if your Razer Kraken mic works.
Hopefully you find this article helpful. If you have any questions, ideas or suggestions, feel free to leave a comment below.