

Windows 10 is very slow at opening programs? That can be frustrating, but don’t worry. You can fix the problem by using the following methods.
Try these methods
Method 1: Use a virus scan program to detect virus
Method 2: Disable startup programs
Method 3: Close unnecessary programs
Method 4: Free up space on hard drive
Method 5: Defragment your hard drive
Method 6: Update drivers on your computer
Method 7: Perform an in-place upgrade
Method 1: Use a virus scan program to detect virus
When your computer is slow to load programs, it’s possible that the computer is affected with virus or malware. So the first thing you can do is to run a virus scan with an antivirus or antimalware program.
If you have an antivirus or antimalware program installed on your computer, just launch it to run a full scan on your computer to detect any virus or malware. If you don’t have the program installed, you can google a well-known program like MalwareBytes.
Method 2: Disable startup programs
There may be some programs running in the background that you may not notice. These background programs can be taking up many system resources and cause the programs to load slowly.
You can disable the startup programs and check to see if the problem persists. Here’s how to do it:
1) On your keyboard, press Win+R (the Windows logo key and the R key) at the same time to invoke the Run box.
2) Type “msconfig” into the Run box and click OK. Then the System Configuration window will open.

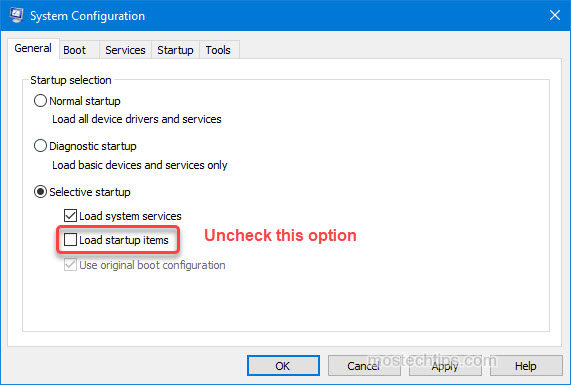
3) Under the General tab, Select Selective Startup and then uncheck Load startup items.
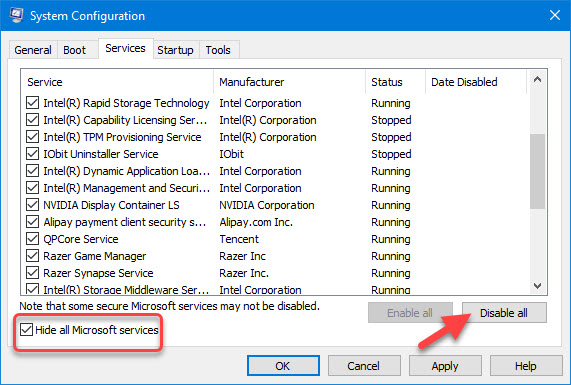
4) Under the Services tab, Tick Hide all Microsoft services and click Disable all.
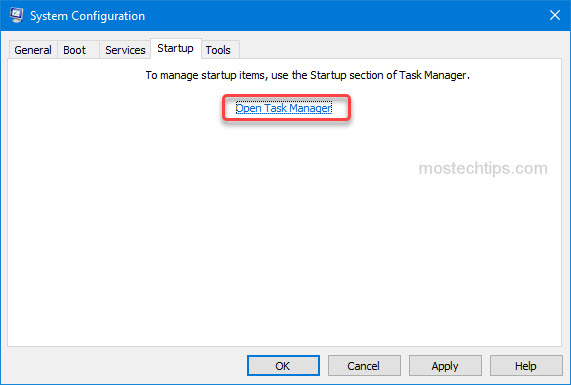
5) Under the Startup tab, click on Open Task Manager.
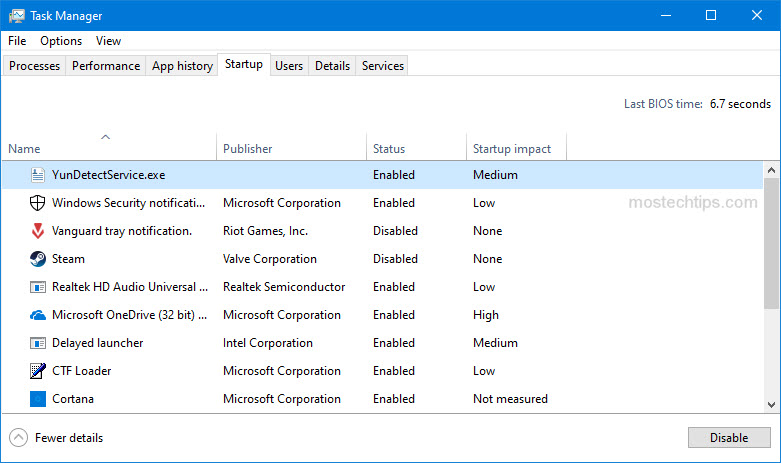
6) In Task Manager, select the item you wish to be disabled at startup and click the Disable button. Repeat this step to disable all startup items.
7) Go back to the System Configuration window.
8) Click Apply -> OK to save the changes.
9) Restart your computer and check to see if the problem is resolved.
Method 3: Close unnecessary programs
A running program can use processing and memory resources. If there are too many programs running at the same time, you can expect that the programs will load slowly. To fix the problem, you can try to close the unnecessary programs, and keep the programs you’re actually using.
TIP: To optimize the performance of your PC, it’s recommended you uninstall the unnecessary programs.
Method 4: Free up space on hard drive
While you’re using the computer, your computer will generate temporary program files and store these files in the hard drive. If your hard drive gets too full, your computer won’t have enough room to store these files, and this can cause programs to load slowly.
So to fix the problem, you can try to free up space on the hard drive. You can do so with Windows built-in tool Disk Cleanup:
1) On your keyboard, press Win+S (the Windows logo key and the S key) to bring up the search box.
2) Type “disk cleanup”, then select Disk Cleanup from the results.

3) Select the drive that you wish to free up the space. Generally, the temporary files are stored in the C:\ drive, so you can start with the C:\ drive.

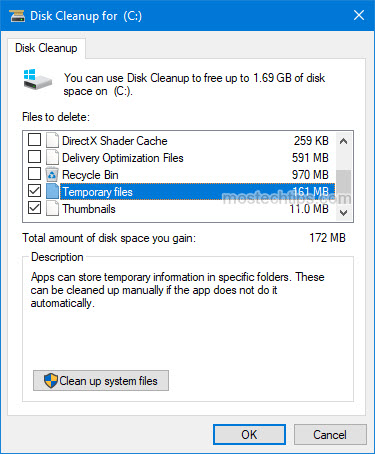
4) Select the checkbox next to the type of files you wish to delete, for example, checking the box next to “Temporary files”. Note that the “Downloaded Program Files”, “Temporary Internet Files” and “Thumbnails” are selected by default. You can choose to unclear the checkboxes if you want.
If you’re not sure what type of the files means, select the name then you can get the detailed information from the Description section.
5) Click on OK then the files you selected will be deleted, then you’ll gain some space on the drive.
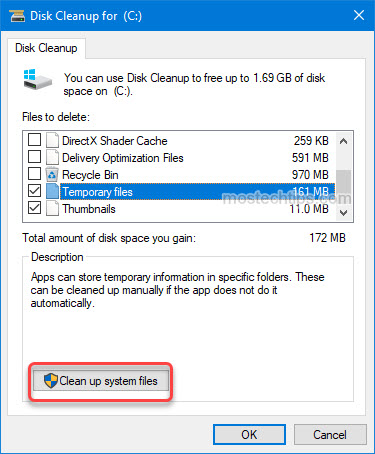
TIP: To free up even more space, you can also clean up the system files. Just click on Clean up system files and refer to the steps above to free up the space.
6) Restart your computer and check to see if the computer is still slow to load programs.
Method 5: Defragment your hard drive
When we say we store a file in the hard drive, the file means a photo, a video, a song, etc. As a whole thing, the file should be stored in one place. But in most cases, the file is divided into lots of fragments, and stored in different places in the hard drive.
The more time your computer has been used, the more fragments it will generate. Then it will take more time for the computer to read a file. When things get bad, the computer can run slowly, and the programs can load slowly as well. To make the computer run faster and the programs load faster, you need to defragment your hard drive.
Defragmenting is a process that reduces the amount of fragmentation in file systems, and puts all divided data of the file together. In that case, it won’t take too much time for your computer to read the whole file.
You can follow these steps to defragment your hard drive:
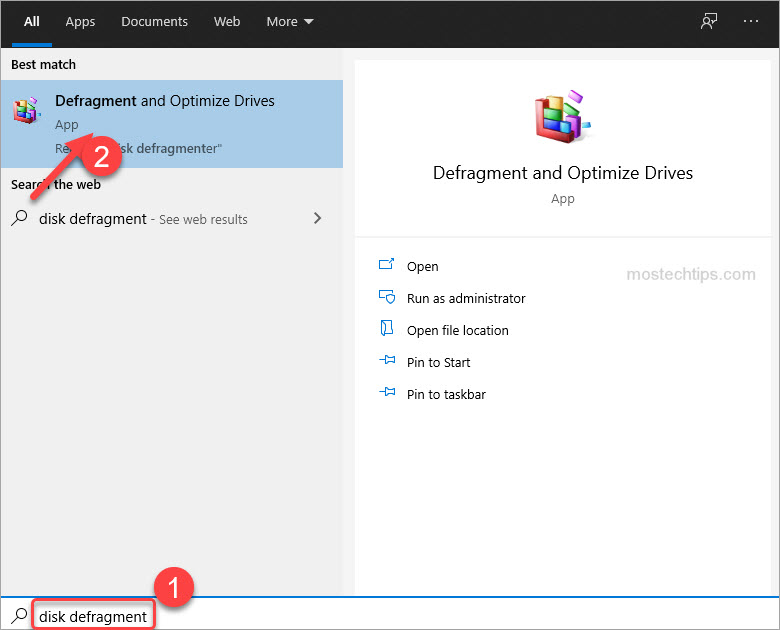
1) On your keyboard, press Win+S (the Windows logo key and the S key) at the same time to open search.
2) Type “disk defragment” into the search box and select Defragment and Optimize Drives from the result.
3) Under Status, select the drive you want to defragment then click Optimize. Then the defrag process will begin.
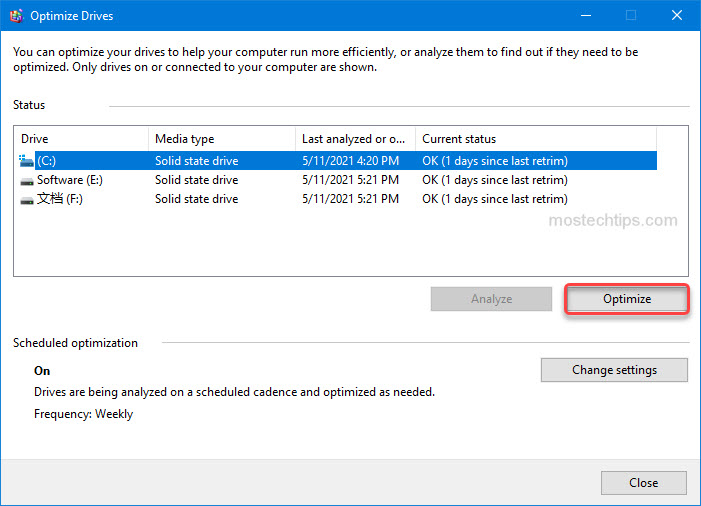
4) The defrag process can take a few minutes or a couple of hours. Once it’s done, restart your computer and check to see if your computer is still slow to load programs.
Method 6: Update drivers on your computer
Outdated drivers can be the cause of the program’s slow loading issue. To fix the problem, you can try to update drivers on your computer.
You can go to your PC manufacturer’s website to download the latest drivers. To download the correct drivers, you need to verify what windows version your computer is running, and what your computer model is.
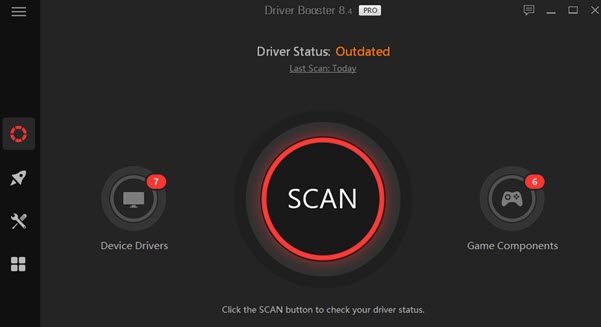
If you don’t have time or computer skills to update drivers manually, you can do it automatically with Driver Booster.
Driver Booster allows you to update all drivers on your computer with just a few clicks.
1) Download and install Driver Booster on your computer.
2) Launch the application and click SCAN to detect any outdated drivers on your computer.
3) Once the scan is done, you’ll see a list of drivers that can be updated. Click the Update button next to the driver you wish to update. Then the driver will be downloaded and installed automatically.
4) After updating the drivers, restart your computer and check to see if your computer is slow to load programs.
Method 7: Perform an in-place upgrade
If none of the above methods works for you, the last resort to fix the problem is to perform an in-place upgrade, which will upgrade your Windows to the same edition or newer version without deleting any files.
Regarding how to perform an in-place upgrade in Windows 10, you can follow the steps in How to Perform an In-Place Upgrade with Windows 10.
After the upgrade is done, log into Windows and check to see if the problem is still there.
Hopefully you find this article helpful. If you have any questions, feel free to leave a comment below. I’ll get back to you as soon as possible.