
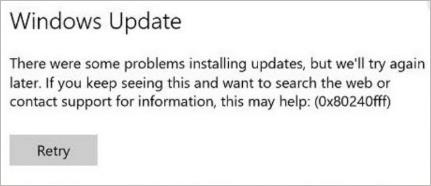
Get error 0x80240fff with Windows 10 Update? Not to worry. Error code 0x80240fff occurs when an operation failed due to reasons not covered by another error code. You can fix it easily with the methods in this article.
I’ve included four methods below to fix the Windows 10 Update error 0x80240fff. You can try them one by one until you find the fix for you.
Method 1: Defer Updates
To fix the Windows 10 Update error 0x80240fff, you can try to defer the updates. After deferring updates, the Windows Update server will be changed. In this case, the error could be fixed. You can defer updates for feature updates or quality updates.
Follow these steps to defer feature updates or quality updates on Windows 10:
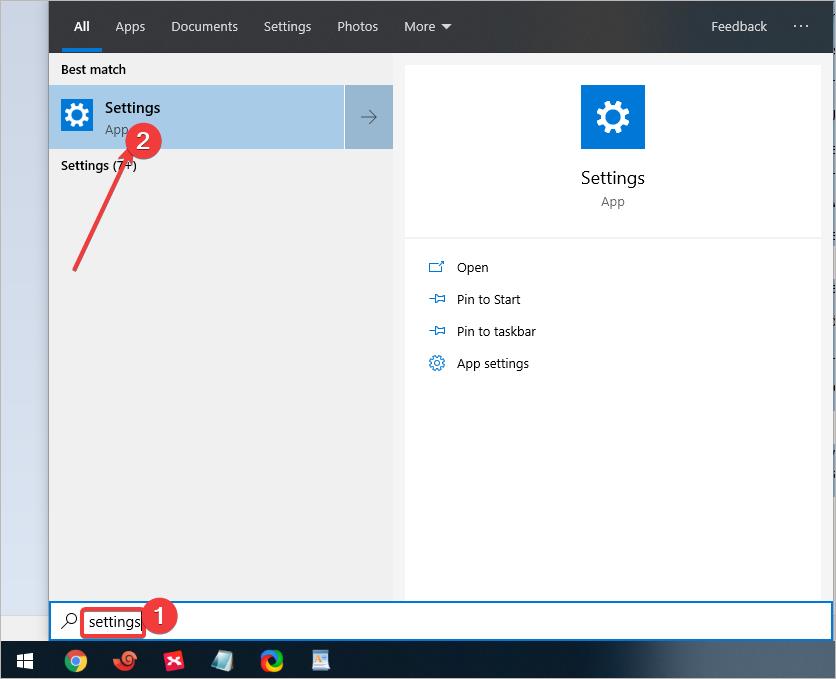
1. On your keyboard, press Win+S (the Windows logo key and the S key) at the same time to open search.
2. Type ‘settings’ in the search box and click Settings on the pop-up menu.
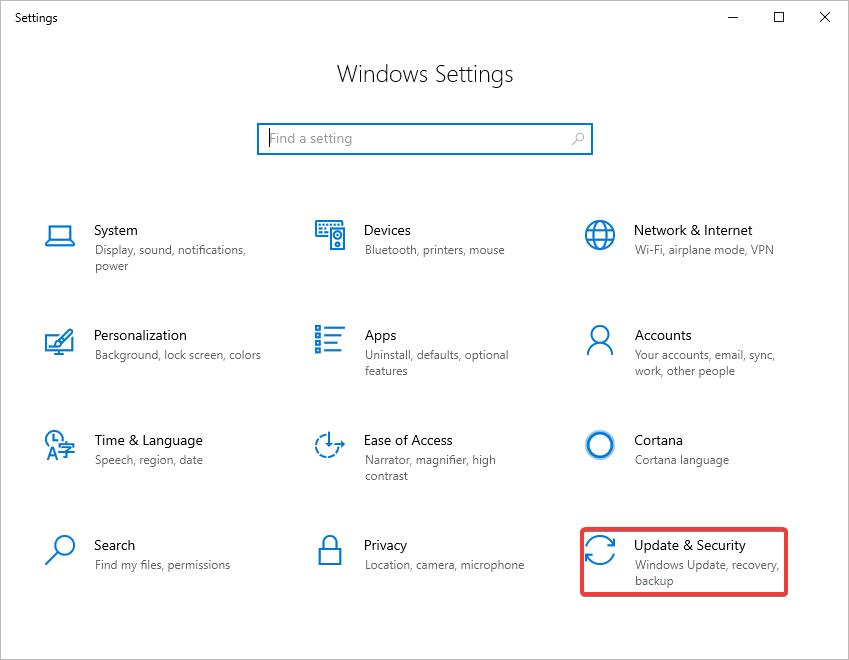
3. Select Update & Security.
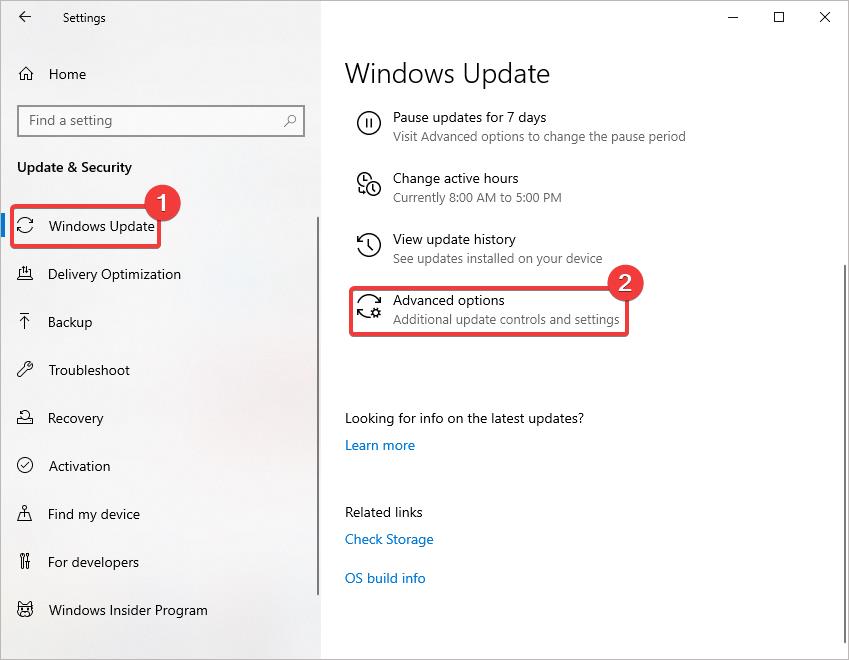
4. Select Windows Update and click Advanced options.
5. Under ‘Choose when updates are installed’, select the number of days you’d like to defer a feature update or a quality update. If you encounter the 0x80240fff error while installing a feature update, you can defer a feature update. If you encounter the 0x80240fff error while installing a quality update, you can defer a quality update.

Note The ‘Defer Updates’ option is available on Windows 10 Pro, Windows 10 Enterprise, Windows 10 Education, and Windows 10 S. It’s not available on Windows 10 Home. For Windows 10 Home users, you can move on and try other methods.
Method 2: Update to the latest version of Windows 10
Error code 0x80240fff occurs to Windows Update installation. So to avoid this error, you can escape Windows Update in this way. You can get the latest Windows Updates by updating to the latest version of Windows 10 instead. To update to the latest version of Windows 10, you can use the Windows Media Creation Tool. Follow these steps:
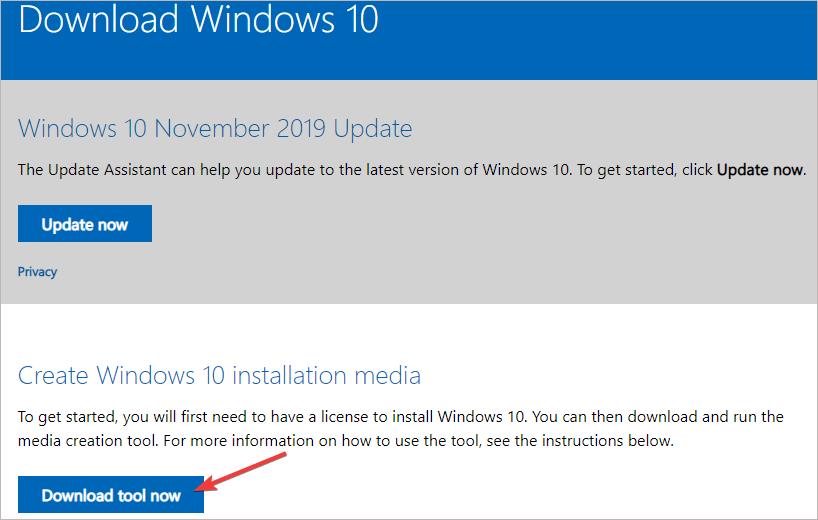
1. Go to Microsoft’s site to download the Media Creation Tool.
2. Click Download Tool Now.
3. Once the download is done, double-click the downloaded file MediaCreationTool.exe file.
If prompted by UAC, just click Yes.
4. Click Accept.
5. Select Upgrade this PC now, and click Next to continue. Then follow the on-screen instructions to download and install the new Windows 10.
Method 3: Restart Background Intelligent Transfer Service (BITS)
Background Intelligent Transfer Service is used to transfer files. Windows Update uses it to identify if the network bandwidth is idle to download the updates. If BITS is not working properly, Windows Update errors can occur such as 0x80240fff error. So to fix the 0x80240fff error, you can try to restart BITS.
Here’s how to do it:
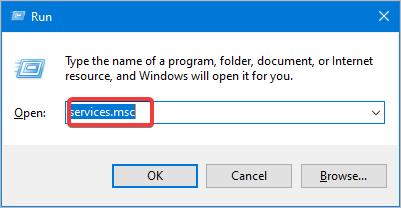
1. On your keyboard, press the Win+R (the Windows logo key and the R key) at the same time to invoke the Run box.
2. Type services.msc into the box and click OK to open the Services window.
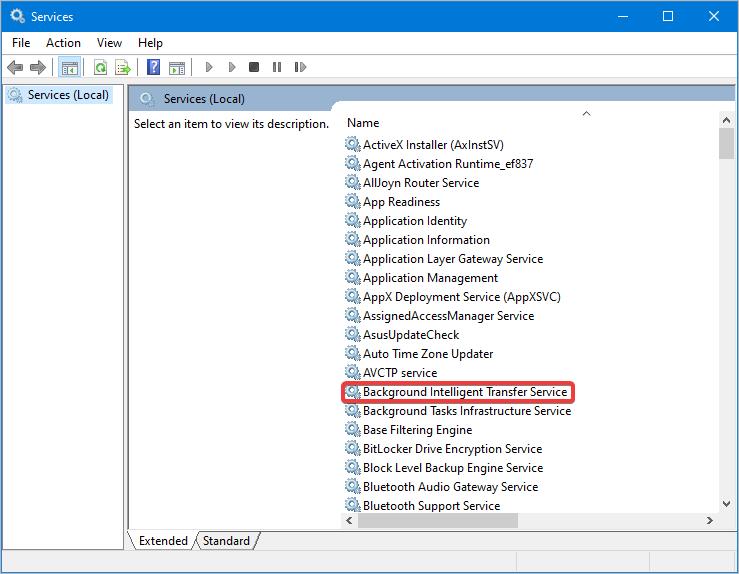
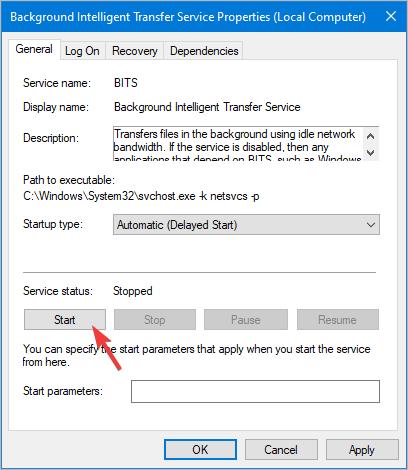
3. Double-click Background Intelligent Transfer Service.
4. Make sure Startup type is set as Automatic (Delayed Start). If not, select Automatic (Delayed Start) from the drop-down list, then click Apply.
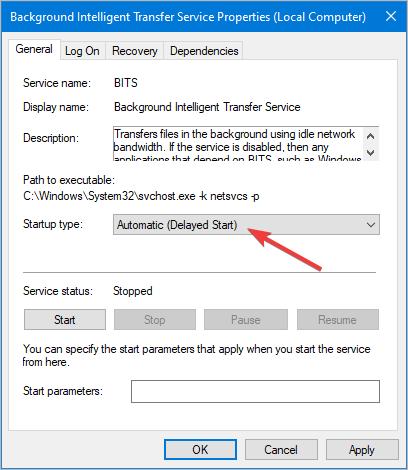
5. Check to see if Service status is started. If it isn’t, click Start, and then click OK.
6. Check to see if the error is resolved.
Method 4: Run Windows Update troubleshooter
Honestly, Windows Update troubleshooter always doesn’t work. But if the above three methods don’t work for you, you can give it a shot. It might work for you.
Follow these steps to run Windows Update troubleshooter to fix the 0x80240fff error.
1. On your keyboard, press Win+S (the Windows logo key and the S key) at the same time to open search.
2. Type ‘control panel’ in the search box and click Control Panel on the pop-up menu.

3. View by Large icons and select Troubleshooting.

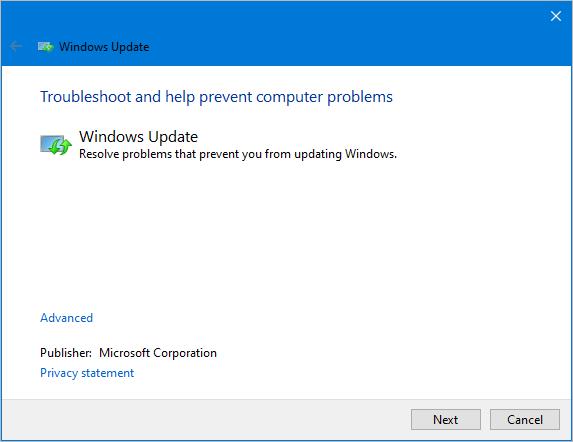
4. Under System and Security, click Fix problems with Windows Update.

5. Click Next to allow troubleshooting to identify and fix the problem.
Hopefully you find the above methods helpful. If you have any questions, ideas or suggestions, feel free to leave a comment below.