
For some reasons, edges on the monitor can be cut off. If you’re experiencing this issue, not to worry. You can fix the problem with one of the methods below.
I’ve included five methods to fix the problem. You may not have to try them all; just work your way down the list until you find the one that works for you.
Method 1: Disable the Overscan function on the monitor
Method 2: Try to adjust your vertical position
Method 3: Set both monitors’ resolution the same
Method 4: Update the graphics card driver
Method 5: Use a DVI cable
Method 1: Disable the Overscan function on the monitor
If the Overscan function on the monitor is on, the problem can cause.
What’s Overscan? Overscan is a feature that cuts off the edges of the screen, then stretches what you have left to fill up your monitor. Usually, the important content will be left, but in some cases, the content can be cut off.
So to fix the problem, you can try to disable the Overscan feature on the monitor. To do so, you can refer to the following steps:
1) Turn on your second monitor.
2) Press the On-screen menu button on the monitor to open the On-screen menu. You can see there are multiple buttons on the monitor. If you’re not sure which one is the On-screen menu button, press them one by one, then you’ll easily find it.
3) Select the ‘Picture Advanced‘ option (for some monitors, it could be ‘Picture’ option) from the menu.
4) Select the option reading Overscan (if available).
5) Select Off.
6) Check to see if the edges are cut off.
Note: Not all monitors have the Overscan function. If you can’t find this option on your monitor, it’s probably not available on your computer. Or you can google the monitor’s user guide to find the information.
If Method 1 doesn’t work for you, try Method 2.
Method 2: Try to adjust your vertical position
To fix the problem, you can try to adjust your vertical position. To do so, refer to the steps below:
1) Open the On-screen menu on the monitor.
2) Navigate to the ‘Position‘ option.
3) Select ‘Auto Adjustment’ (if available).
4) Check to see if the problem is resolved.
Note: Not all monitors have the Auto Adjustment feature. It’s generally applicable for analog (VGA, possibly DVI-A) connections only, and disabled in digital (DVI-D/HDMI) modes. So if your monitor only has the DVI-D modes or HDMI modes, this option is not available on your monitor.
Method 3: Set both monitors’ resolution the same
To fix the problem, you can try to set the second monitor’s resolutions the same as the resolution of the primary monitor. Follow these steps:
1) Right-click on the desktop and select Display settings.

2) Scroll down to the Scale and layout section and find Display resolution.
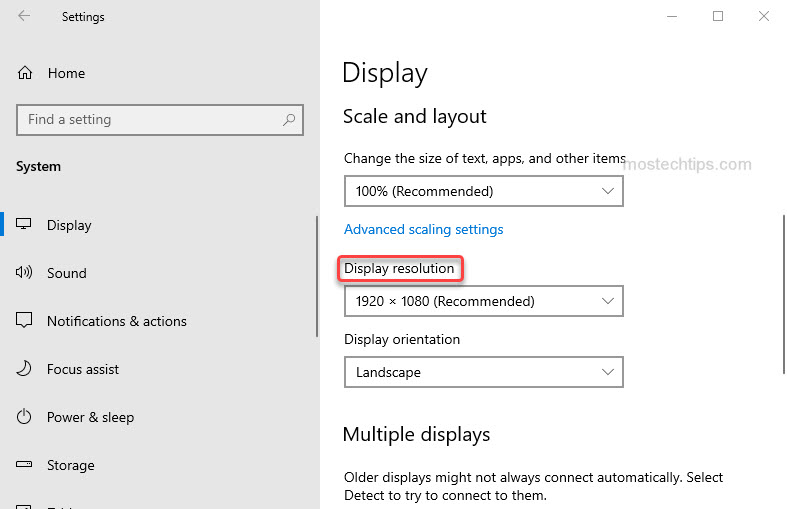
3) Select the Display 2 monitor, then select the resolution from the drop-down menu of Display resolution. Select the resolution that is the same as the resolution of the primary screen.
Method 4: Update the graphics card driver
The problem can be caused by faulty or outdated graphics card drivers. To fix the problem, you can try to update the graphics card driver.
Manually updating drivers takes time and requires a bit of technical knowledge. If you don’t have time or computer skills to do it manually, you can do it automatically with Driver Easy, which allows you to update drivers with a few clicks.
Driver Easy has the Free version and the Pro version. You can update the graphics card driver with the Free version. But with the Pro version, you’ll get full support and 30-day money back guarantee.
1) Download and install Driver Easy on your computer.
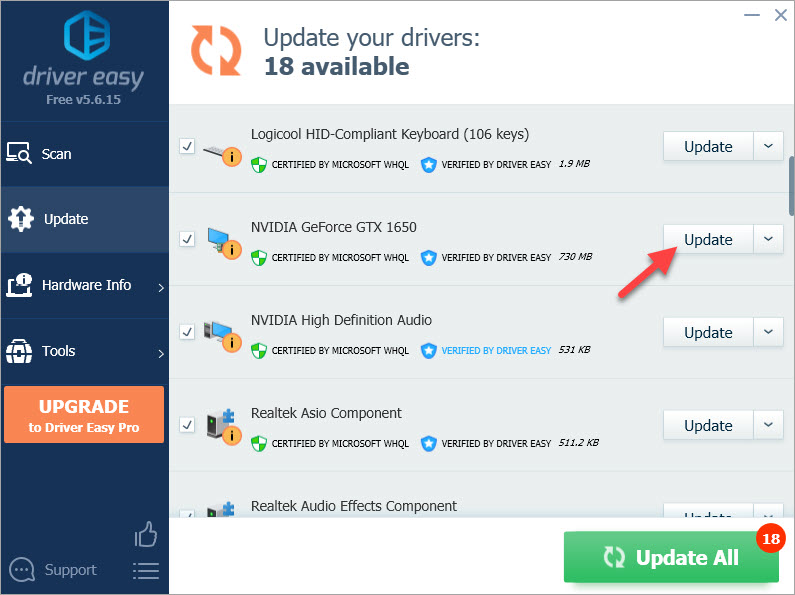
2) Launch the application and click Scan Now to detect any problem drivers on your computer.

3) Click the Update button next to the graphics card driver, the driver will be downloaded automatically. Once download is done, you can manually install the driver with the step-by-step guide from Driver Easy (If you use the Pro version, the driver will be downloaded and installed automatically).
4) After updating the graphics card driver, check to see if the second monitor’s edges are still cut off.
If the problem persists, move on and try Method 5.
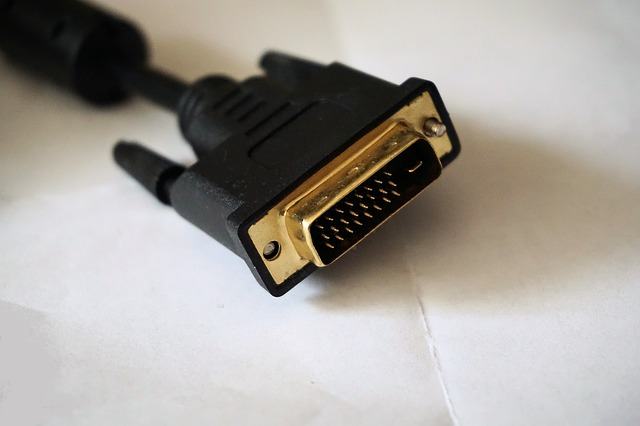
Method 5: Use a DVI cable
If you’re using a VGA cable or HDMI cable, the problem can occur. You can try to connect the monitor to the computer with a DVI cable. If your computer doesn’t have a DVI port, you’ll need to use an adapter (for example, HDMI-DVI adapter), so you can connect the monitor and the computer successfully.
Hopefully you can fix the problem with the above methods. If you have any questions, ideas or suggestions, feel free to leave a comment below.
why is my monitor cutting everything out? can anyone help me?
One thing that helped in my case of everything being cropped out near the border of the screen:
Go to the Display settings > Advanced display settings > change the Refresh rate to 60 or more.
For some reason, this was the issue for me. Hope it helps!
Thank you for sharing. Your method may help others as well.
This worked for me! i had the option for 60 hz and 59.8 hz. Selected 59.8 hz option and boom! problem solved. Such a weird solution for this problem, no more screen getting cut at the edge. Thanks!
Same here! I know a lot about windows and tech, but I have no idea why this fixed the overscan. Except, for me I changed it from 60 hrz to 60.015.
Thanks this helped . For Mac users system preferences -> displays -> (for your monitor) increase the value of underscan to align the screen as you wish .
Thank you for your sharing.