
Windows 10 automatic updates can cause us unexpected problems. You might have an experience similar to mine. A few days ago, I woke up in the morning and found my computer network was disconnected. The problem was caused by a new Windows auto update. So to prevent Windows automatic updates causing computer problems again, we should turn off the automatic updates. In this article, I’ll show you how to stop Windows 10 automatic updates.
Five methods are available for you to stop Windows 10 automatic updates. Just choose the method that works for you.
Method 1: Pause Windows 10 automatic updates for some more days
Windows 10 offers you the choice of when and how to install Windows updates. You can pause Windows updates for some more days until you’re ready for the updates. Then you choose to install Windows updates either manually or automatically. In this case, Windows updates won’t be installed without you knowing.
To do this, you can follow these steps:
1. On your keyboard, press Win+S (the Windows logo key and the S key) at the same time to open search, and type setting in the search box. Then click on Settings.

2. Select Updates & Security.


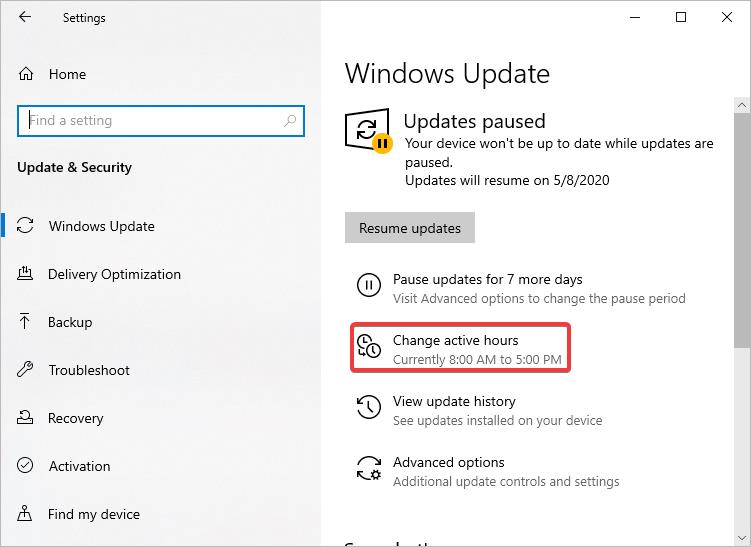
3. Select Windows Update. In the right pane, Select either Pause updates for 7 more days or Advanced options.

If you select Pause updates for 7 more days, the updates will be installed 7 days later.
If you select Advanced options, you can specify a date for updates to resume. In the Pause updates section, select the drop-down menu and specify a date for updates to resume.
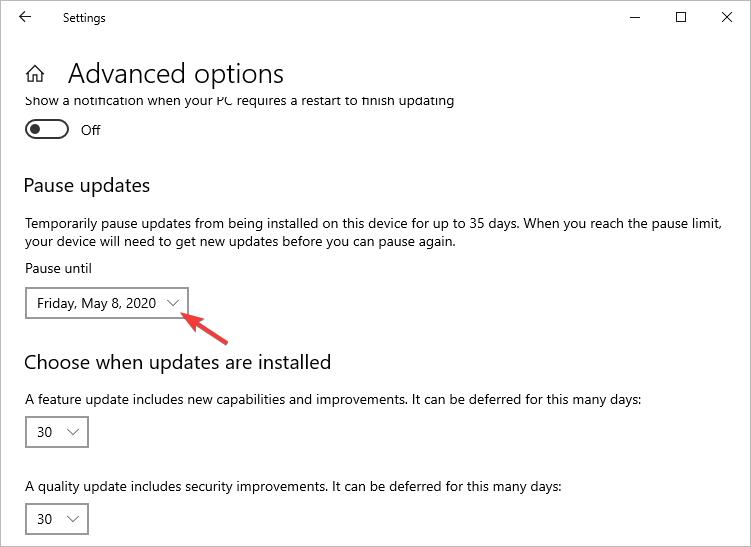
When you reach the pause limit, you’ll need to install the latest updates before you can pause updates again. You can install the updates manually before the pause limit is reached.
Tip: You’ll need to restart your computer to finish installing updates. It’s recommended you to set active hours to ensure your computer only restarts for updates when you’re not using it.
Here’s how to set active hours:
1) In the Windows Update page, select Change active hours.

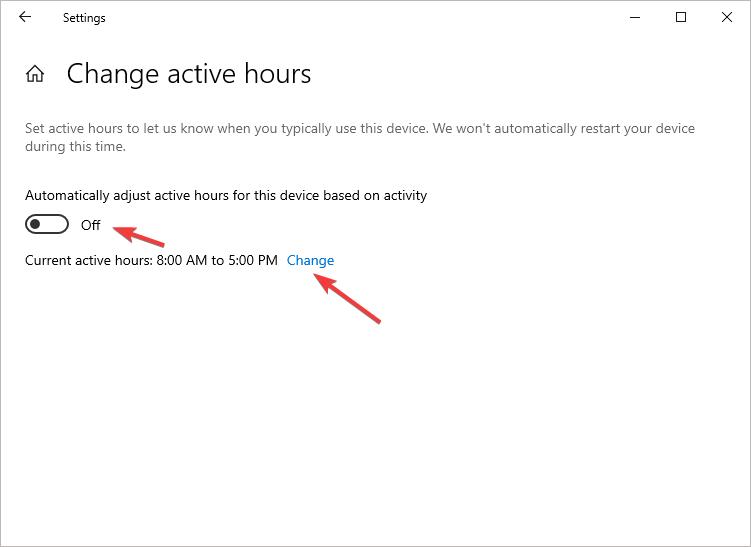
2) Turn on Automatically adjust active hours for this device based on activity or click Change to select a time based on your own schedule.
Method 2: Set a metered connection
A metered connection is a connection that has limited data usage. If you set your network connection as metered, most Windows updates won’t download automatically. So if you don’t want Windows updates to download and install automatically, you can set your network connection as metered.
If you’re using cellular data, you don’t need to set the network connection as metered manually, as cellular data connections are set as metered by default. If you’re on Wi-Fi connection or ethernet connection, you can follow the steps below to set your network connection as metered.
For Wi-Fi
1. On your keyboard, press Win+S (the Windows logo key and the S key) at the same time to open search, and type setting in the search box. Then click on Settings.

2. Select Network & Internet.


3. Select Wi-Fi. On the right pane, select the Wi-Fi network you’re connected to.
4. In the Metered connection section, turn on Set as metered connection.
For ethernet
Only Windows version 1703 or higher has the option to set ethernet connection as metered. If you’re using the lower Windows version, this method doesn’t work for you. You can try other methods.
1. On your keyboard, press Win+S (the Windows logo key and the S key) at the same time to open search, and type setting in the search box. Then click on Settings.
2. Select Network & Internet.
3. Select Ethernet. On the right pane, select the Ethernet network you’re connected to.
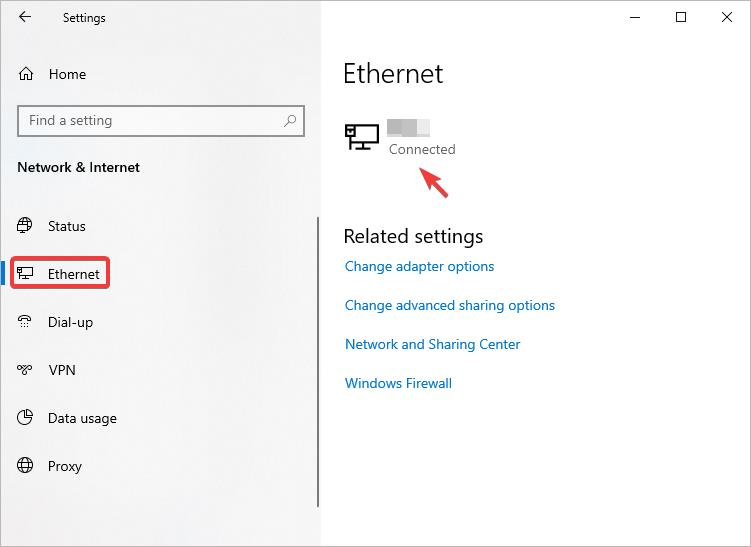

4. In the Metered connection section, turn on Set as metered connection.
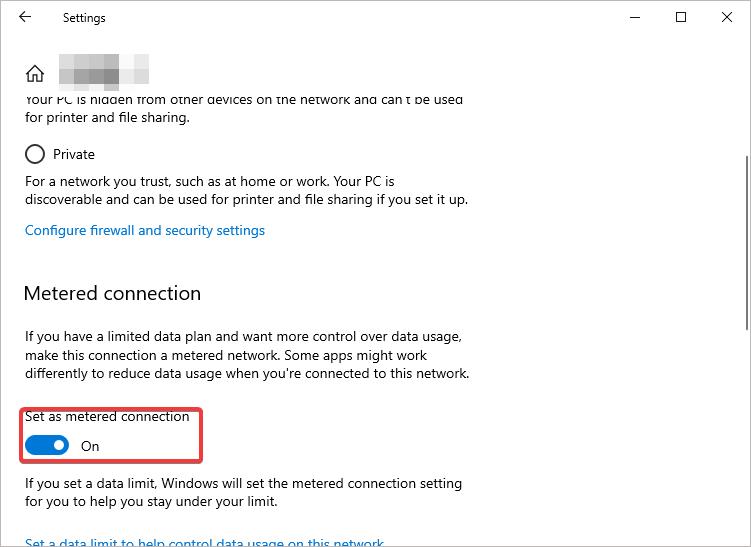
After you set your network connection as metered, Windows update won’t download automatically. If you want Windows update to download automatically later, you need to turn off Set as metered connection.
Method 3: Disable Windows 10 automatic updates via Group Policy
One of the methods to disable Windows 10 automatic updates is via Group Policy. Here’s how to do it:
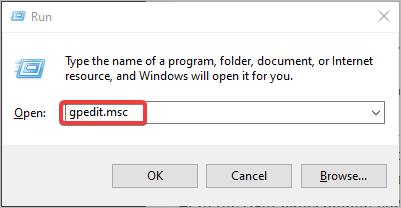
1. On your keyboard, press Win+R (the Windows logo key and the R key) at the same time to invoke the Run box.
2. Type gpedit.msc in the Run box to open Group Policy Editor.

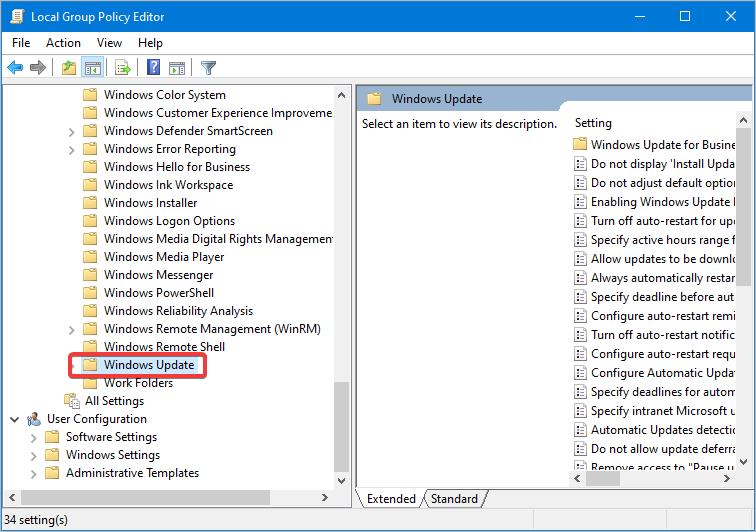
3. In Group Policy Editor, expand Computer Configuration -> Administrative Templates -> Windows Components, and then click Windows Update.

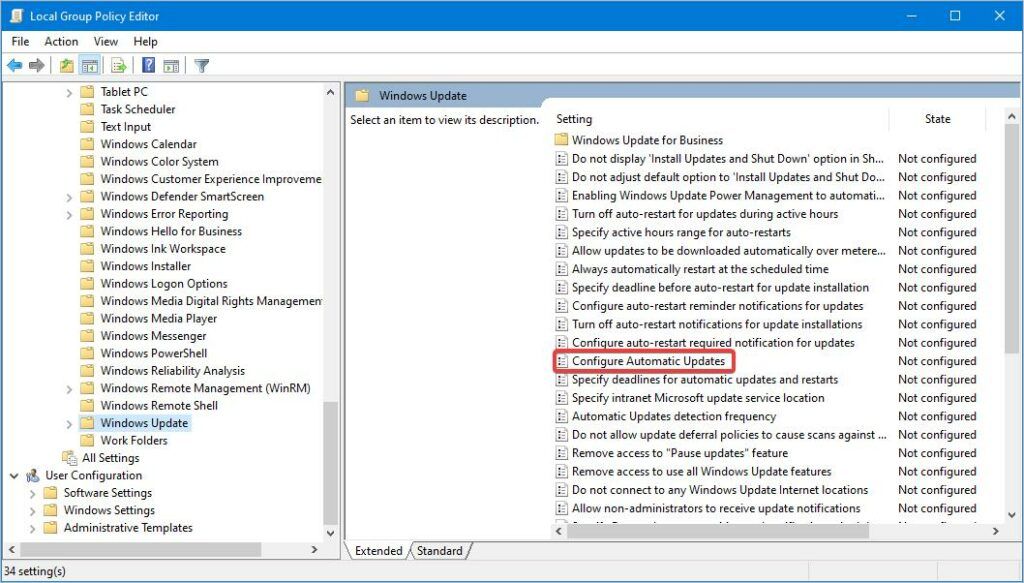
4. In the right pane, double-click Configure Automatic Updates.

5. Select Disabled then click OK.

Tip: If you want to download and install Windows updates, you can choose the manual way. You can head to Settings -> Update & Security -> Windows Update -> Check for updates to download and install Windows updates manually.
Method 4: Configure the behavior of automatic updates
If you want Windows updates to download or install at the time when you’re ready, you can configure the settings in Group Policy. Just follow these steps:
1. On your keyboard, press Win+R (the Windows logo key and the R key) at the same time to invoke the Run box.
2. Type gpedit.msc in the Run box to open Group Policy Editor.
3. In Group Policy Editor, expand Computer Configuration -> Administrative Templates -> Windows Components, and then click Windows Update.
4. In the right pane, double-click Configure Automatic Updates.
5. Select Enabled then select one of the following options from the drop-down menu:
- Notify for download and notify for install. If this option is selected, you’ll get notification prior to the download and prior to the installation of the updates.
- Auto download and notify for install. If this option is selected, new Windows updates will download automatically, but you can get notification prior to the installation of the updates.
- Auto download and schedule the install. If this option is selected, new Windows updates will download automatically, and you can schedule a time for the installation.
- Allow local admin to choose setting. This option allows you (you must log on to Windows as an administrator) to use automatic updates in the Control Panel to select a configuration option.

6. Click OK to save the settings.
Method 5: Disable Windows Update service
The last method to disable Windows 10 automatic updates is disable Windows Update service. But once you disable the Windows Update service, you’re not even allowed to download and install Windows updates manually. To update Windows, you need to enable Windows Update service again.
Here’s how to disable Windows Update service:
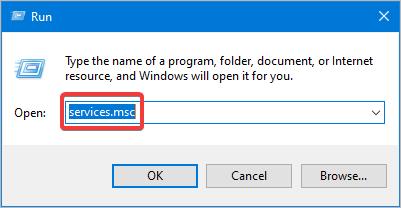
1. On your keyboard, press Win+R (the Windows logo key and the R key) at the same time to invoke the Run box.
2. Type services.msc and click OK to open the services manager.

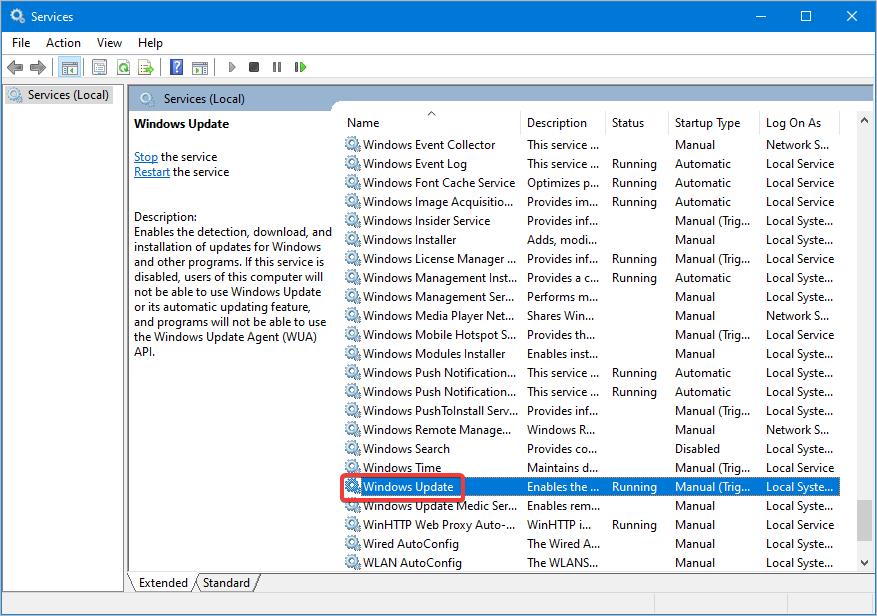
3. In services manager, double-click Windows Update.

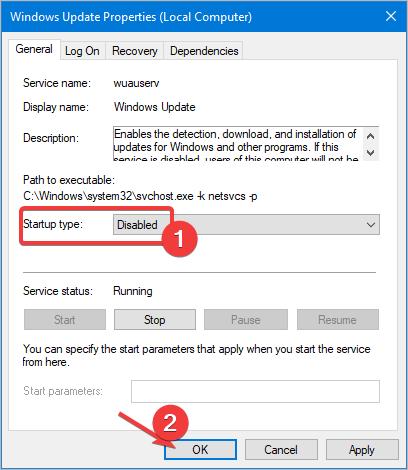
4. In Startup type, select Disabled from the drop-down menu. Then click OK to save the settings.
Hopefully you can stop Windows 10 automatic updates easily with the methods above. If you have any questions, ideas or suggestions, feel free to leave a comment below.