

A clean install of Windows 10 can help you fix some system corruption issues or system slow performance issues. If you need to know how to perform a clean install of Windows 10, you’ve come to the right place. In this post, you’ll learn how to perform a clean install on Windows 10 step by step.
Follow the below mentioned steps to perform a clean install of Windows 10.
Step 1: Download and create installation media
Step 2: Perform a clean install of Windows 10
IMPORTANT: Performing a clean install of the system will wipe your computer drives completely. Before you follow the steps, it’s recommended you back up the important files and programs so you can restore them quickly if necessary.
Step 1: Download and create installation media
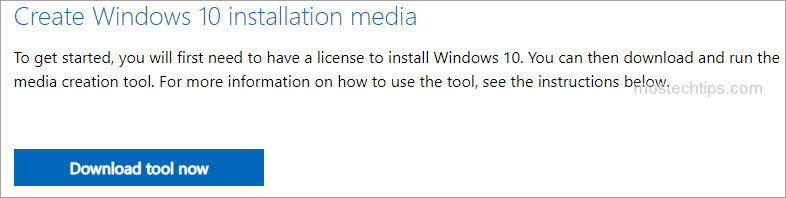
Firstly, download Windows Media Creation Tool from Microsoft.
The Windows Media Creation Tool offered by Microsoft can help you download the system files for Windows 10, and create installation media like an USB drive or a DVD drive.
Secondly, use the Windows Media Creation Tool to create installation media
1) Double-click on the downloaded file of Windows Media Creation Tool.
If you get a UAC (User Account Control) prompt, click Yes.
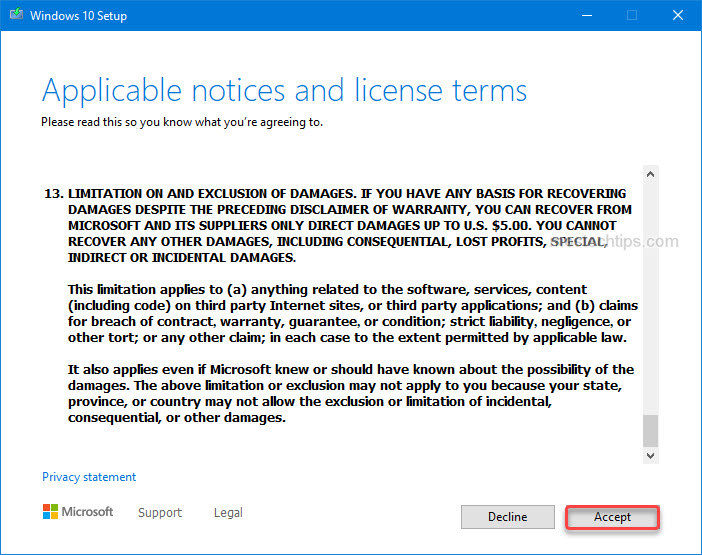
2) Read the license terms and then click Accept to continue. Then it might take a few minutes for Windows to get things ready.
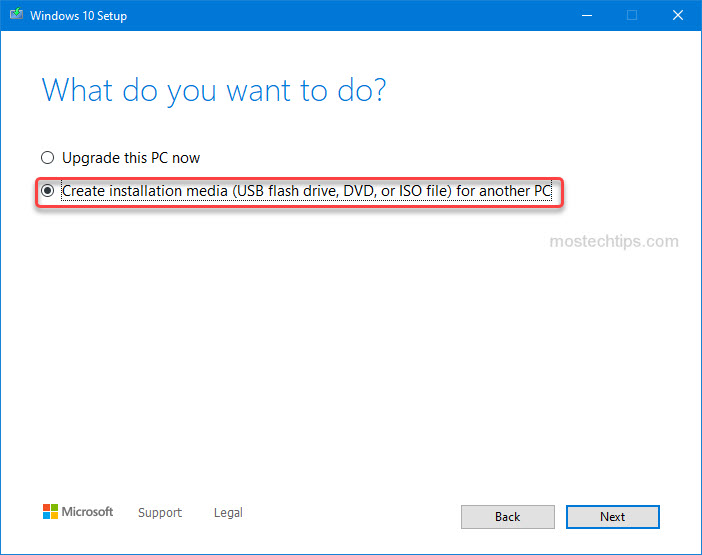
3) Select Create installation media (USB flash drive, DVD or ISO file) for another PC, and then click Next.
4) Select the Language, Edition or Architecture you prefer, and then click Next to continue.
Note: Ensure you select the right Edition. If you choose the wrong edition, you can’t perform the clean install successfully. Select the edition to the same as the one that’s licensed for your PC (Windows 10 Home or Professional). For example, if your computer was running Windows 10, select Edition to Windows 10 Home.

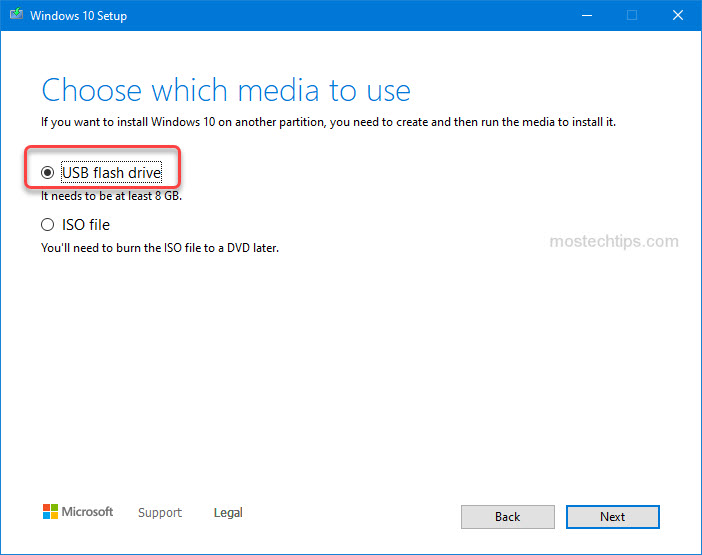
5) On the “Choose which media to use” screen, select the USB flash drive option and then click Next.
6) Select your available USB flash drive, and then click Next.
7) Click Finish.
Once the process to create the installation media is done, move to Step 2 and follow the steps to perform the clean install of Windows 10.
Step 2: Perform a clean install of Windows 10
1) Insert the USB drive you created in Step 1 into the computer that you wish to install Windows 10 on.
2) Boot your computer. Then your computer will boot from the USB drive. If your computer doesn’t boot from the USB drive, you may need to change settings in BIOS to make it boot from a removable device.
3) Select Install now.

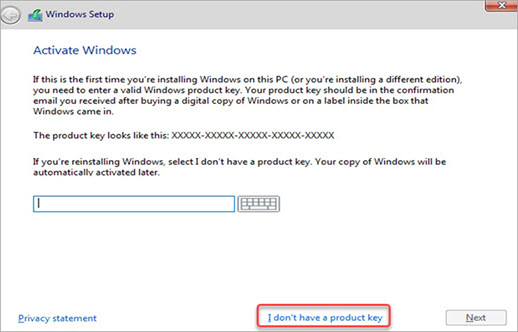
4) Windows will prompt you to enter a product key. If you have a Windows 10 key, you can just enter the key, and then click Next. If you upgraded from Windows 7, Windows 8/8.1, or reinstalled Windows 10, click on I don’t have a product key, and then click Next.
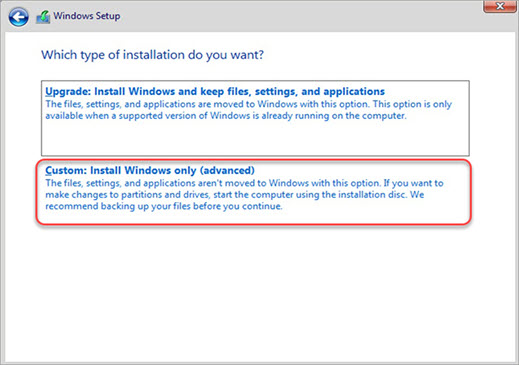
5) When you’re on the “Which type of installation do you want?” screen, select Custom: Install Windows only (advanced).
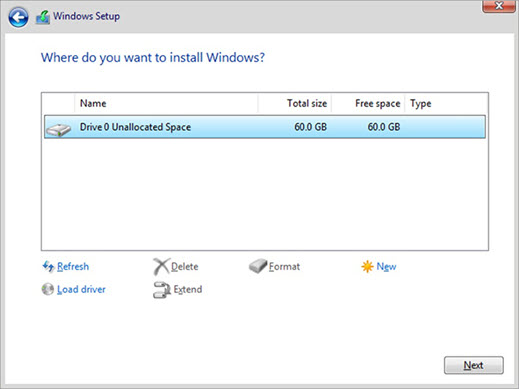
6) Select the partition, and then click Next.
If you see more than one partition listed, delete them all, then you’ll see only a single partition left. Select it and then click New. Then the partition will be split into multiple partitions. After that, select the Primary partition and then click Next.
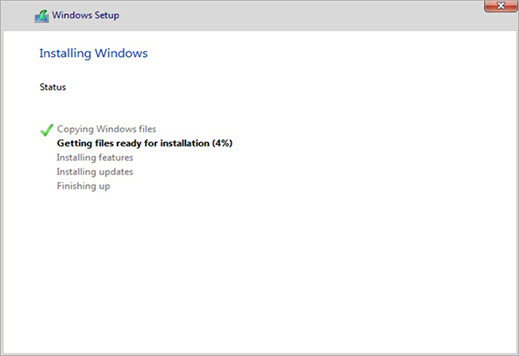
7) The installation process will begin. During the process, your computer may automatically restart several times, just ignore it and wait for the process to finish.
After the clean install is done, you can configure your Windows if you want.
Above are the steps to perform a clean install of Windows 10. If you have any questions or suggestions, feel free to leave a comment below. I’ll get back to you ASAP.