
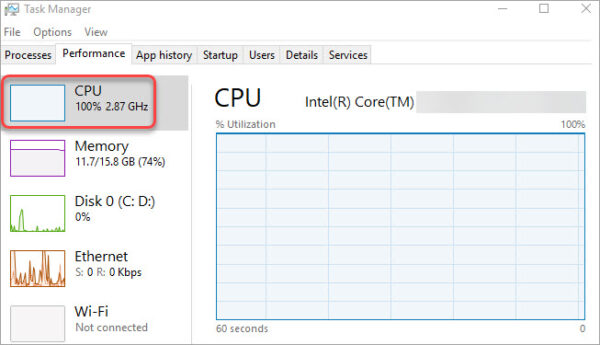
When you notice that your CPU usage suddenly jumps to 100% and then returns to normal, it’s generally okay to ignore it if your computer is running smoothly, as occasional spikes in CPU usage are normal in Windows. However, if your computer experiences lag or freezes, something might be amiss. In such cases, you may want to learn how to resolve this annoying issue. Read on to discover possible solutions.
There are five potential solutions to address the ‘CPU randomly spikes to 100%‘ issue. You can try each of them one by one until the computer performance issue is resolved.
Method 1: Update your drivers
Method 2: Run a virus or malware scan
Method 3: Perform a clean boot
Method 4: Check power options
Method 5: Update BIOS
Method 1: Update your drivers
Outdated drivers can cause your CPU randomly spike to 100%. To fix the issue, you can try updating your drivers, especially the graphics card drivers.
You can go to the PC manufacturer’s website to download the drivers. Usually, drivers can be downloaded from the Drivers, Support or Download section.
Alternatively, you can search “PC model + driver” using your preferred search engine, then you can find the driver download page of your PC directly from the search results.
Tip: To update drivers more easily, you can use Driver Easy. Driver Easy can scan your system to detect any missing or outdated drivers and allow you to update drivers with a few clicks. Download Driver Easy from the vendor website.
Method 2: Run a virus scan or malware scan
If your computer is infected by virus or malware, the CPU usage can randomly spike and your computer can experience lag issues. To fix the problem, it’s recommended you run a virus scan or malware scan on your computer.
To do so, you can use a good antivirus or antimalware software. Use the software to run a full scan on your computer to detect any virus or malware. If you have no idea what software is trustworthy, the well-known MalwareBytes could be your go to option.
Method 3: Perform a clean boot
It’s likely that a program is running in the background and using high CPU, and you don’t even notice it. To fix the problem, you can try performing a clean boot. A clean boot can help you verify any third party application service or startup program that’s causing this issue. To do so:
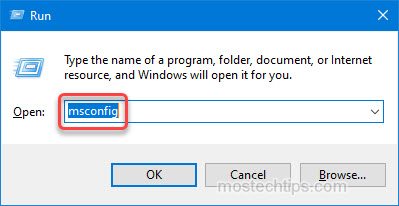
1) Press Win+R keys to open the Run box.
2) Type “msconfig” into the Run box and click OK. Then the System Configuration window will open.
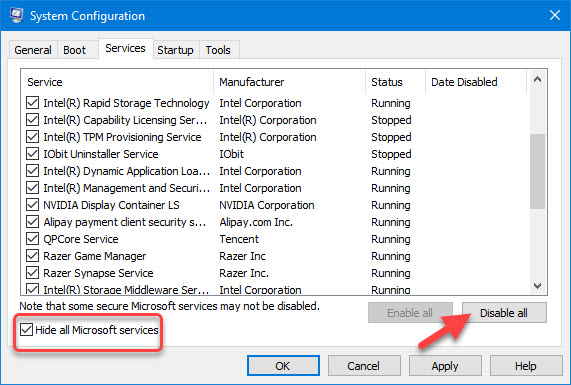
3) Under the Services tab, tick Hide all Microsoft services and click Disable all.
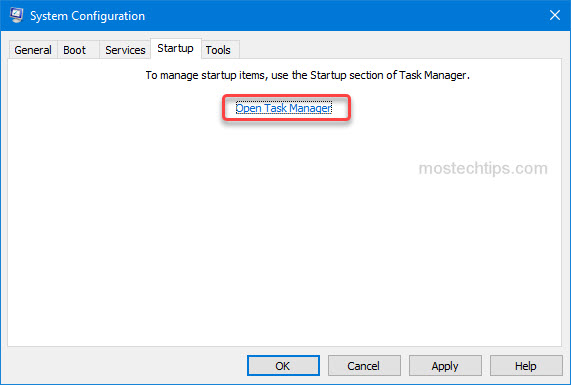
4) Under the Startup tab, click on Open Task Manager.
5) In Task Manager, select the item you wish to be disabled at startup and click the Disable button. Repeat this step until you disable all startup items.
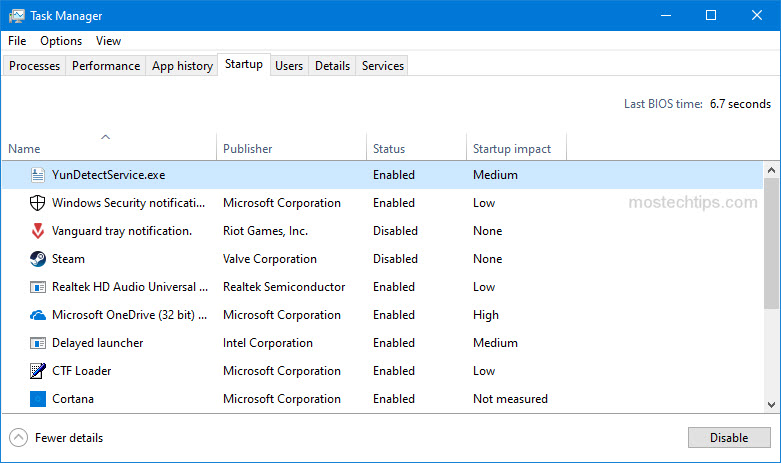
Note: Some anti-virus software may not be disabled in Task Manager. If you have any anti-virus software installed, check if it’s disabled in Task Manager. If not, you’ll need to go to the software’s settings to disable it.
6) Go back to the System Configuration window.
7) Click Apply -> OK to save the changes.
8) Check to see if you’re still facing the high CPU issue.
If the issue is resolved, third-party services or programs could be the cause. Then you can find out what services or programs are causing the issue. Follow these steps:
1) Open the System Configuration window again.
2) Click the Services tab.
3) Enable several non-Microsoft services at a time (for example, five services as a group).
4) Check to see if the problem persists.
5) Repeat Step 3) and Step 4) until you find a group of services, which are causing the issue. Then check one by one until you find the one that is causing the issue.
If none of the services is the cause, perform the same steps for the Startup programs and find out what startup program is causing the issue.
Method 4: Check power options
Check your power options and ensure the High performance mode is not selected. To do so:
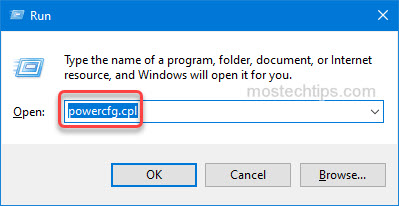
1) Open the Run box again.
2) Type “powercfg.cpl” into the Run box and click the OK button to open the Power Options window.
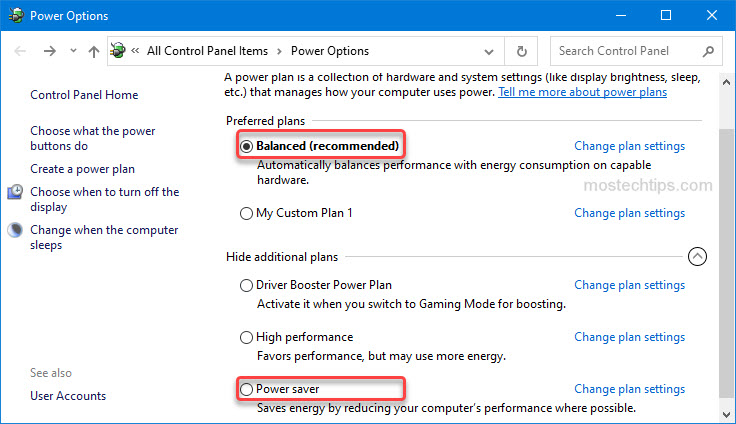
3) Check what the current power plan your computer is using. Ensure the High performance option is not selected. If it’s selected, you can switch to the Balanced option or the Power saver option.
Method 5: Update BIOS
If none of the above methods works, the last resort you can try to fix the issue is to update the BIOS.
1) Go to your motherboard’s website.
2) Go to the SUPPORT page, then search for your motherboard model (How to check what motherboard model you have?).
3) Download the latest BIOS to your computer.
4) Install the BIOS. The steps to install BIOS vary depending on the different brand products. If you’re not sure how to do it, you can check the product manual or contact the manufacturer for the detailed steps.
IMPORTANT: Updating BIOS incorrectly can cause serious system issues. Ensure you know what you’re doing. If not, you may want to contact a technical support for assistance.
Hopefully you can fix the “CPU randomly spikes to 100%” issue with the steps above. If you have any questions, feel free to leave a comment below. I’ll get back to you ASAP.