
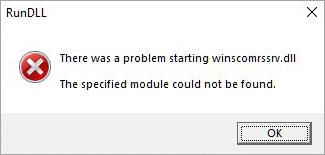
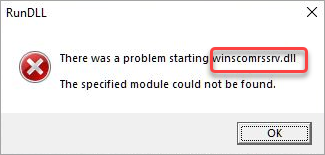
The RunDLL error usually occurs on startup. The full error message could be something like “There was a problem starting xxx.dll. The specified module can not be found”. If you’re looking for the solutions to this error, you’ve come to the right place. In this post, you’ll learn how to fix the RunDLL error easily.
The error usually occurs due to virus or malware that was removed by antivirus/antimalware software. The missing DLL file was left over that cannot be recognized by Windows. To fix the error, you can try the following methods.
Method 1: Delete temporary files
Method 2: Perform a clean boot
Method 3: Run Windows Autoruns
Method 4: Remove the startup RunDLL error manually
Method 1: Delete temporary files
The error is caused by a specific .dll file. In most cases, the file is stored in the temporary folder. To fix the error, you can delete that file by deleting all temporary files. Here’s how to do it:
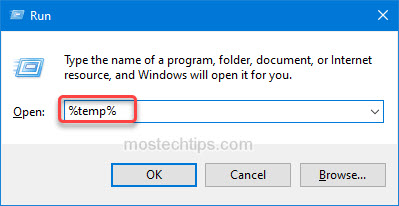
1) Press Win+R keys to open the Run box.
2) Type “%temp%” into the run box and click OK. Then the Temp folder will open.
3) Delete all files in the Temp folder.

4) Restart your computer and check to see if the error still occurs.
If Method 1 doesn’t work for you, you can try Method 2.
Method 2: Perform a clean boot
The RunDLL error can be caused by one third-party program, which cannot be loaded correctly. You can try performing a clean boot to find out if a third-party program is the culprit.
A clean boot allows Windows to start without any third-party program running in the background. If the error is gone in the clean boot environment, it means a third-party program is the cause.
You can follow these steps to perform a clean boot:
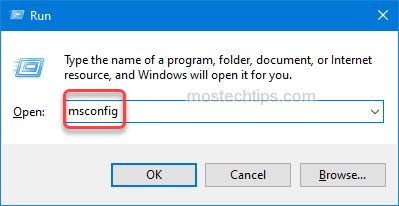
1) Press Win+R keys to open the Run box.
2) Type “msconfig” into the Run box and click OK. Then the System Configuration window will open.
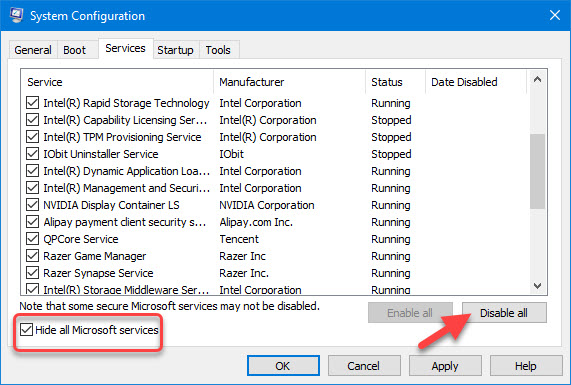
3) At the System Configuration window, go to the Services tab, tick Hide all Microsoft services and click Disable all. Then all non-microsoft services will be disabled.
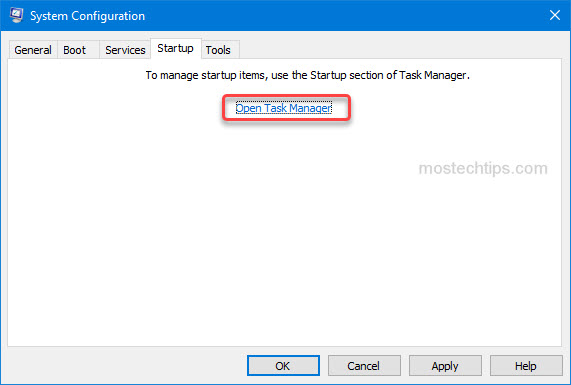
4) Go to the Startup tab, click on Open Task Manager.
5) In Task Manager, for each item that’s enabled at startup (you can tell from the Status column), select the item and then select Disable.
Note: Some antivirus software may not be disabled in Task Manager. If you have any antivirus software installed, check if it’s disabled in Task Manager. If not, you’ll need to go to the software’s settings to disable it.

6) Go back to the System Configuration window.
7) Click Apply -> OK to save the changes.
8) Restart your computer. Then your computer will be in a clean boot environment.
9) Check to see if the error occurs in the clean boot environment.
If the error doesn’t occur, a third-party service or program is the cause. Then you can follow below steps to find out which program is causing the error.
1) Open the System Configuration window again.
2) Click the Services tab.
3) Enable several non-Microsoft services at a time (for example, five services as a group).
4) Check to see if the error occurs. If the error occurs, that group contains the services causing the error.
5) Repeat Step 3) and Step 4) until you find a group of services causing the error. Then check the service one by one until you find the service that is causing the error. Once you find the service, you’ll know what program that service belongs to.
If none of the services is the cause, perform the same steps for the Startup programs and find out what startup program is causing the error.
If there’s a program causing the error, uninstalling or reinstalling this program can help resolve the problem.
If Method 2 doesn’t work for you, continue to try Method 3.
Method 3: Run Windows Autoruns
Autoruns is a Windows tool which allows you to see everything running on startup. You can use it to delete the startup error entry so you won’t run into the error on startup. To do so:
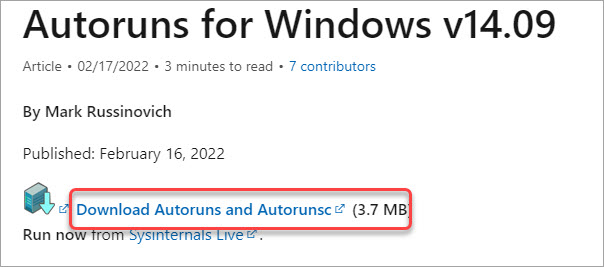
1) Go to Microsoft’s website to download Autoruns.
2) Right-click on the downloaded file (.zip) and select Extract All or other options that you can choose to extract the file.

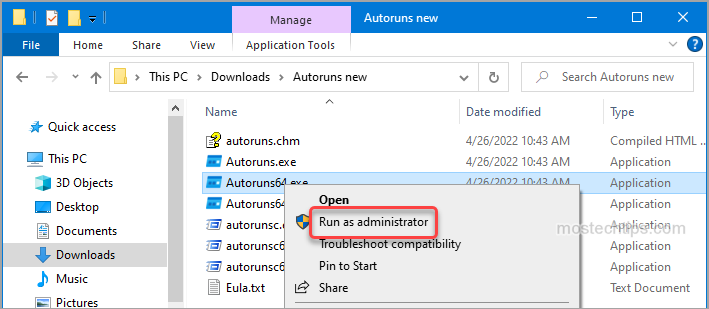
3) Depending upon your system (learn how to check what Windows version you have), right-click on Autoruns.exe or Autoruns64.exe (for example, if you’re using Windows 64-bit system, right-click on Autoruns64.exe) and select Run as administrator. After that, Autoruns will open.
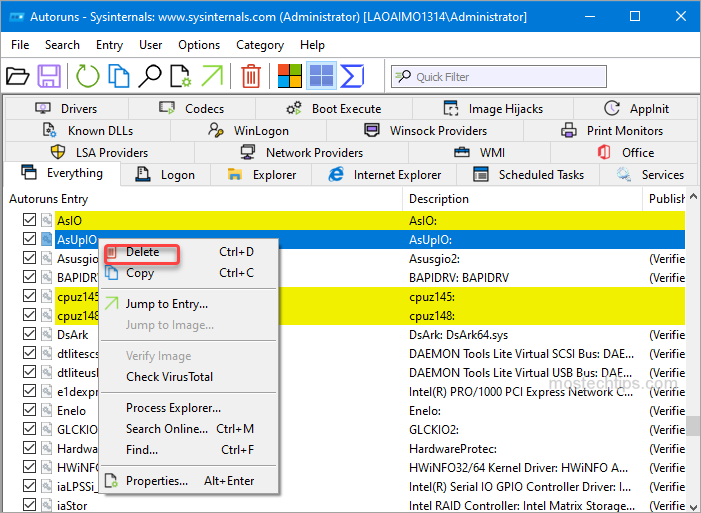
4) At the Autoruns window, you should see some entries highlighted in yellow. Those entries are the ones trying to run missing files. To locate the startup error entry quickly, you can search with the file name showing in the error.
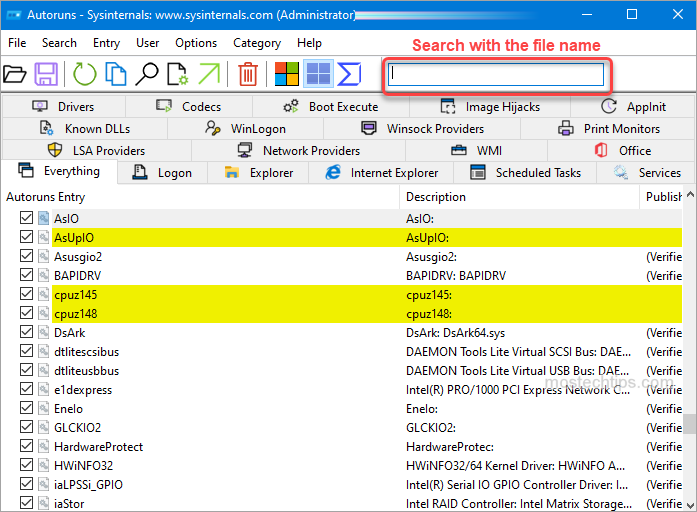
For example, in the screenshot below, the file name is “winscomrssrv.dll”, then you can search for the file name “winscomrssrv.dll”.
5) Once you locate the startup error entry, right-click on the entry and select Delete. If you see multiple entries associated with the startup error, delete them all.
6) Restart your computer and check to see if the error still occurs.
If Method 3 doesn’t work for you, continue to try Method 4.
Method 4: Remove the startup RunDLL error manually
If none of the above methods works for you, you can just delete the error entry from Registry so it won’t appear on startup again. To do that, follow the steps below.
Important: Modifying registry incorrectly can cause serious system issues. Before following the steps, it’s recommended you back up your registry (learn how to back up registry) first so you can restore it if you need.
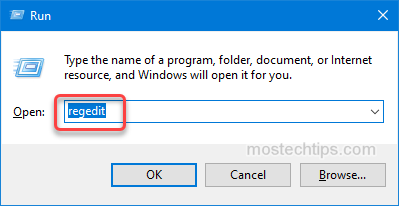
1) Press Win+R keys to open the Run box.
2) Type “regedit” into the Run box and click OK.
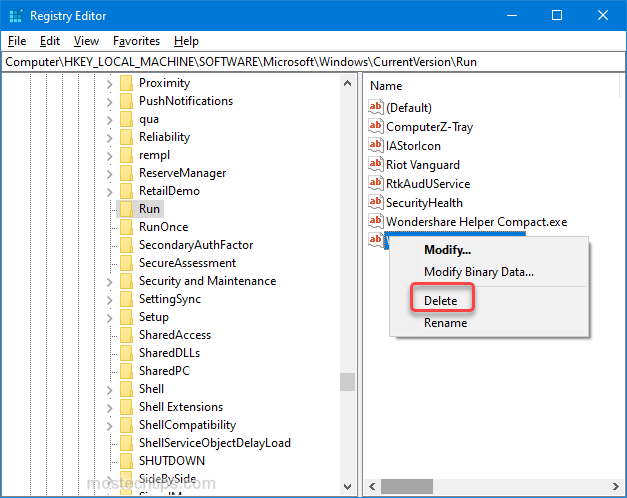
3) Navigate to this key:
Computer\HKEY_LOCAL_MACHINE\SOFTWARE\Microsoft\Windows\CurrentVersion\Run
Copy and paste the key path to the search box and press Enter, then you can open the key immediately.
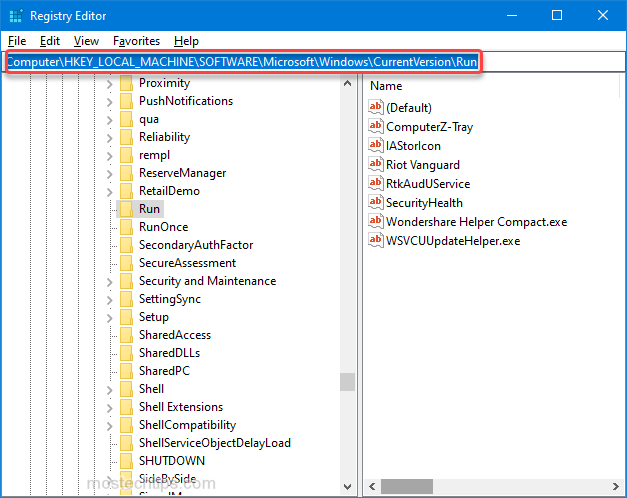
4) In the right side panel, find the entry associated with the startup error. You can tell from the Name column or the Data column.
5) Right-click on the startup error entry then select Delete. If you see multiple entries associated with the startup error, delete them all.
6) Once done, restart your computer then the error should be fixed.
Hopefully you can fix the RunDLL error with the above methods. If you have any questions, feel free to drop a comment below. I’ll get back to you ASAP.