
When you use Realtek Digital Output as default output device, you find that you can’t hear sound from your computer. What to do to fix the problem? You can try the following methods.
Method 1: Set Speakers / Headphones as default device
Method 2: Reinstall the audio driver
Method 3: Update the audio driver
Method 1: Set Speakers / Headphones as default device
Realtek Digital Output device refers to high definition digital audio devices, like a TV with an HDMI connection, home theater system, etc. Usually, you connect these devices to the computer with a digital cable instead of an analog cable.
But for the regular speakers / headphones, you need to connect them to the computer with analog cables. In this case, if you set the Realtek Digital Output as default output device, the sound won’t work properly.
To fix the problem, you’ll need to set the Speakers / Headphone default output device. To do so:
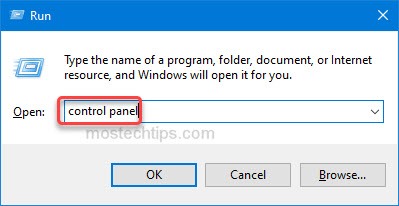
1) On your keyboard, press Win+R (the Windows logo key and the R key) at the same time to invoke the Run box.
2) Type ‘control panel’ into the Run box and click OK to open the Control Panel window.
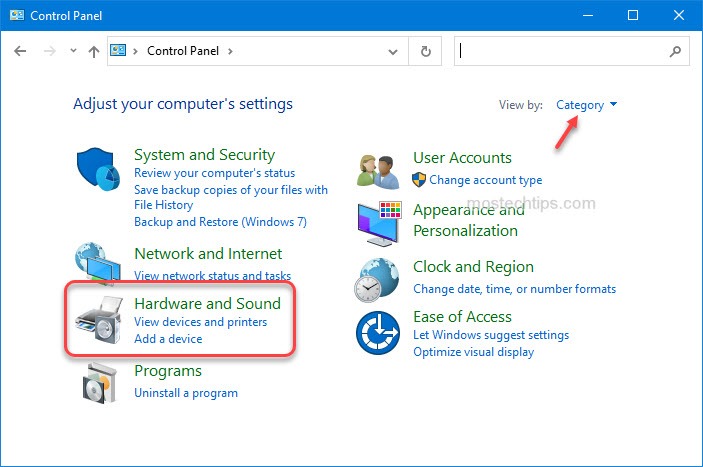
3) View by Category and click on Hardware and Sound.
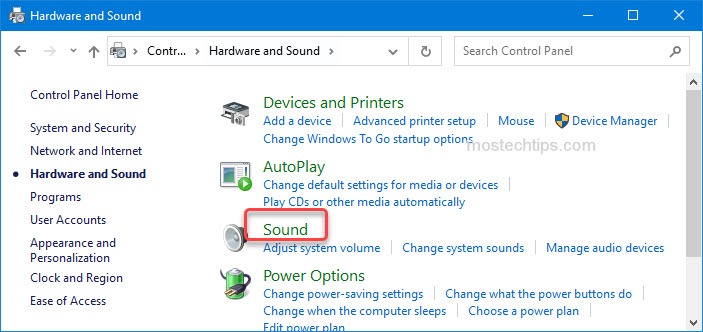
4) Click on Sound.
5) Select the Playback tab. Then select the ‘Speakers / Headphones’ device and click Set default to set it as default device.
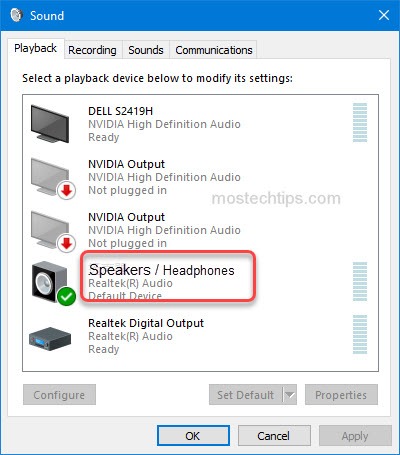
6) Click OK to save the changes.
Method 2: Reinstall the audio driver
Driver issues can cause Realtek Digital Output no sound. To fix the problem, you can try to reinstall the audio driver. Here’s how to reinstall the audio driver.
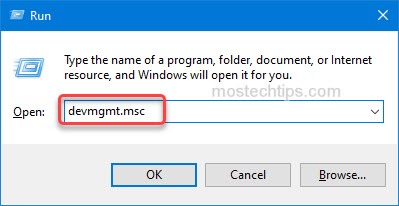
1) On your keyboard, press the Win+R (the Windows logo key and the R key) at the same time to invoke the Run box.
2) Type ‘devmgmt.msc’ into the box and click OK to open the Device Manager window.
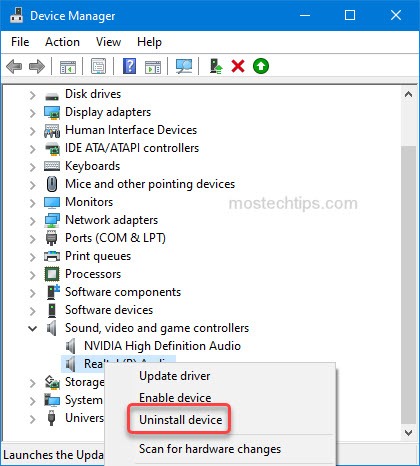
3) Expand the category ‘Sound, video and game controllers’. Right-click on the audio device and select Uninstall device.
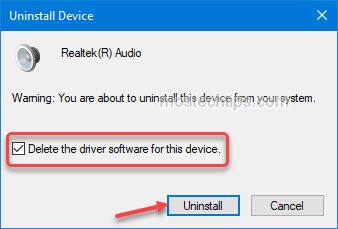
4) On the Confirm Device Removal dialogue box, you’ll see a warning message that says “You are about to uninstall this device from your system”.
Just check the box Delete the driver software for this device then click Uninstall to confirm the changes.
5) Restart your computer to allow Windows to reinstall the audio driver.
6) Check to see if the problem is resolved.
This method allows you to reinstall the default Windows audio driver. If it doesn’t work for you, you can download and update the audio driver from manufacturers. See Method 3.
Method 3: Update the audio driver
To update the audio driver, you can go to the PC manufacturer’s website to download the latest audio driver.
To download the driver correctly, you’ll need to know what version of Windows you’re using, or what audio card you have.
If you don’t have much driver knowledge, it’s recommended you use a third-party driver update utility. Driver Booster is one of the best driver update utilities you can use.
Driver Booster allows you to update all drivers with just one click. After you download and install on your computer, just launch it to scan your computer to detect any missing and outdated drivers including the outdated audio driver.

Then you can update the audio driver with just one click.
After updating the audio driver, check to see if the problem is resolved.
Hopefully you find this article helpful. If you have any questions, ideas or suggestions, feel free to leave a comment below.